Wildlife Photography
Photographing animals and birds in their natural habitats requires many skills, including the ability to handle a multitude of lighting situations. Jim Zuckerman explains how to work with light when you're out in the wild.
Taking pictures of wildlife requires many skills—hand/eye coordination, composition, the ability to follow-focus, patience, and good exposure technique. That last item is particularly important because animals are found in a multitude of lighting situations, and each one requires you to understand the best way to obtain a correct exposure.
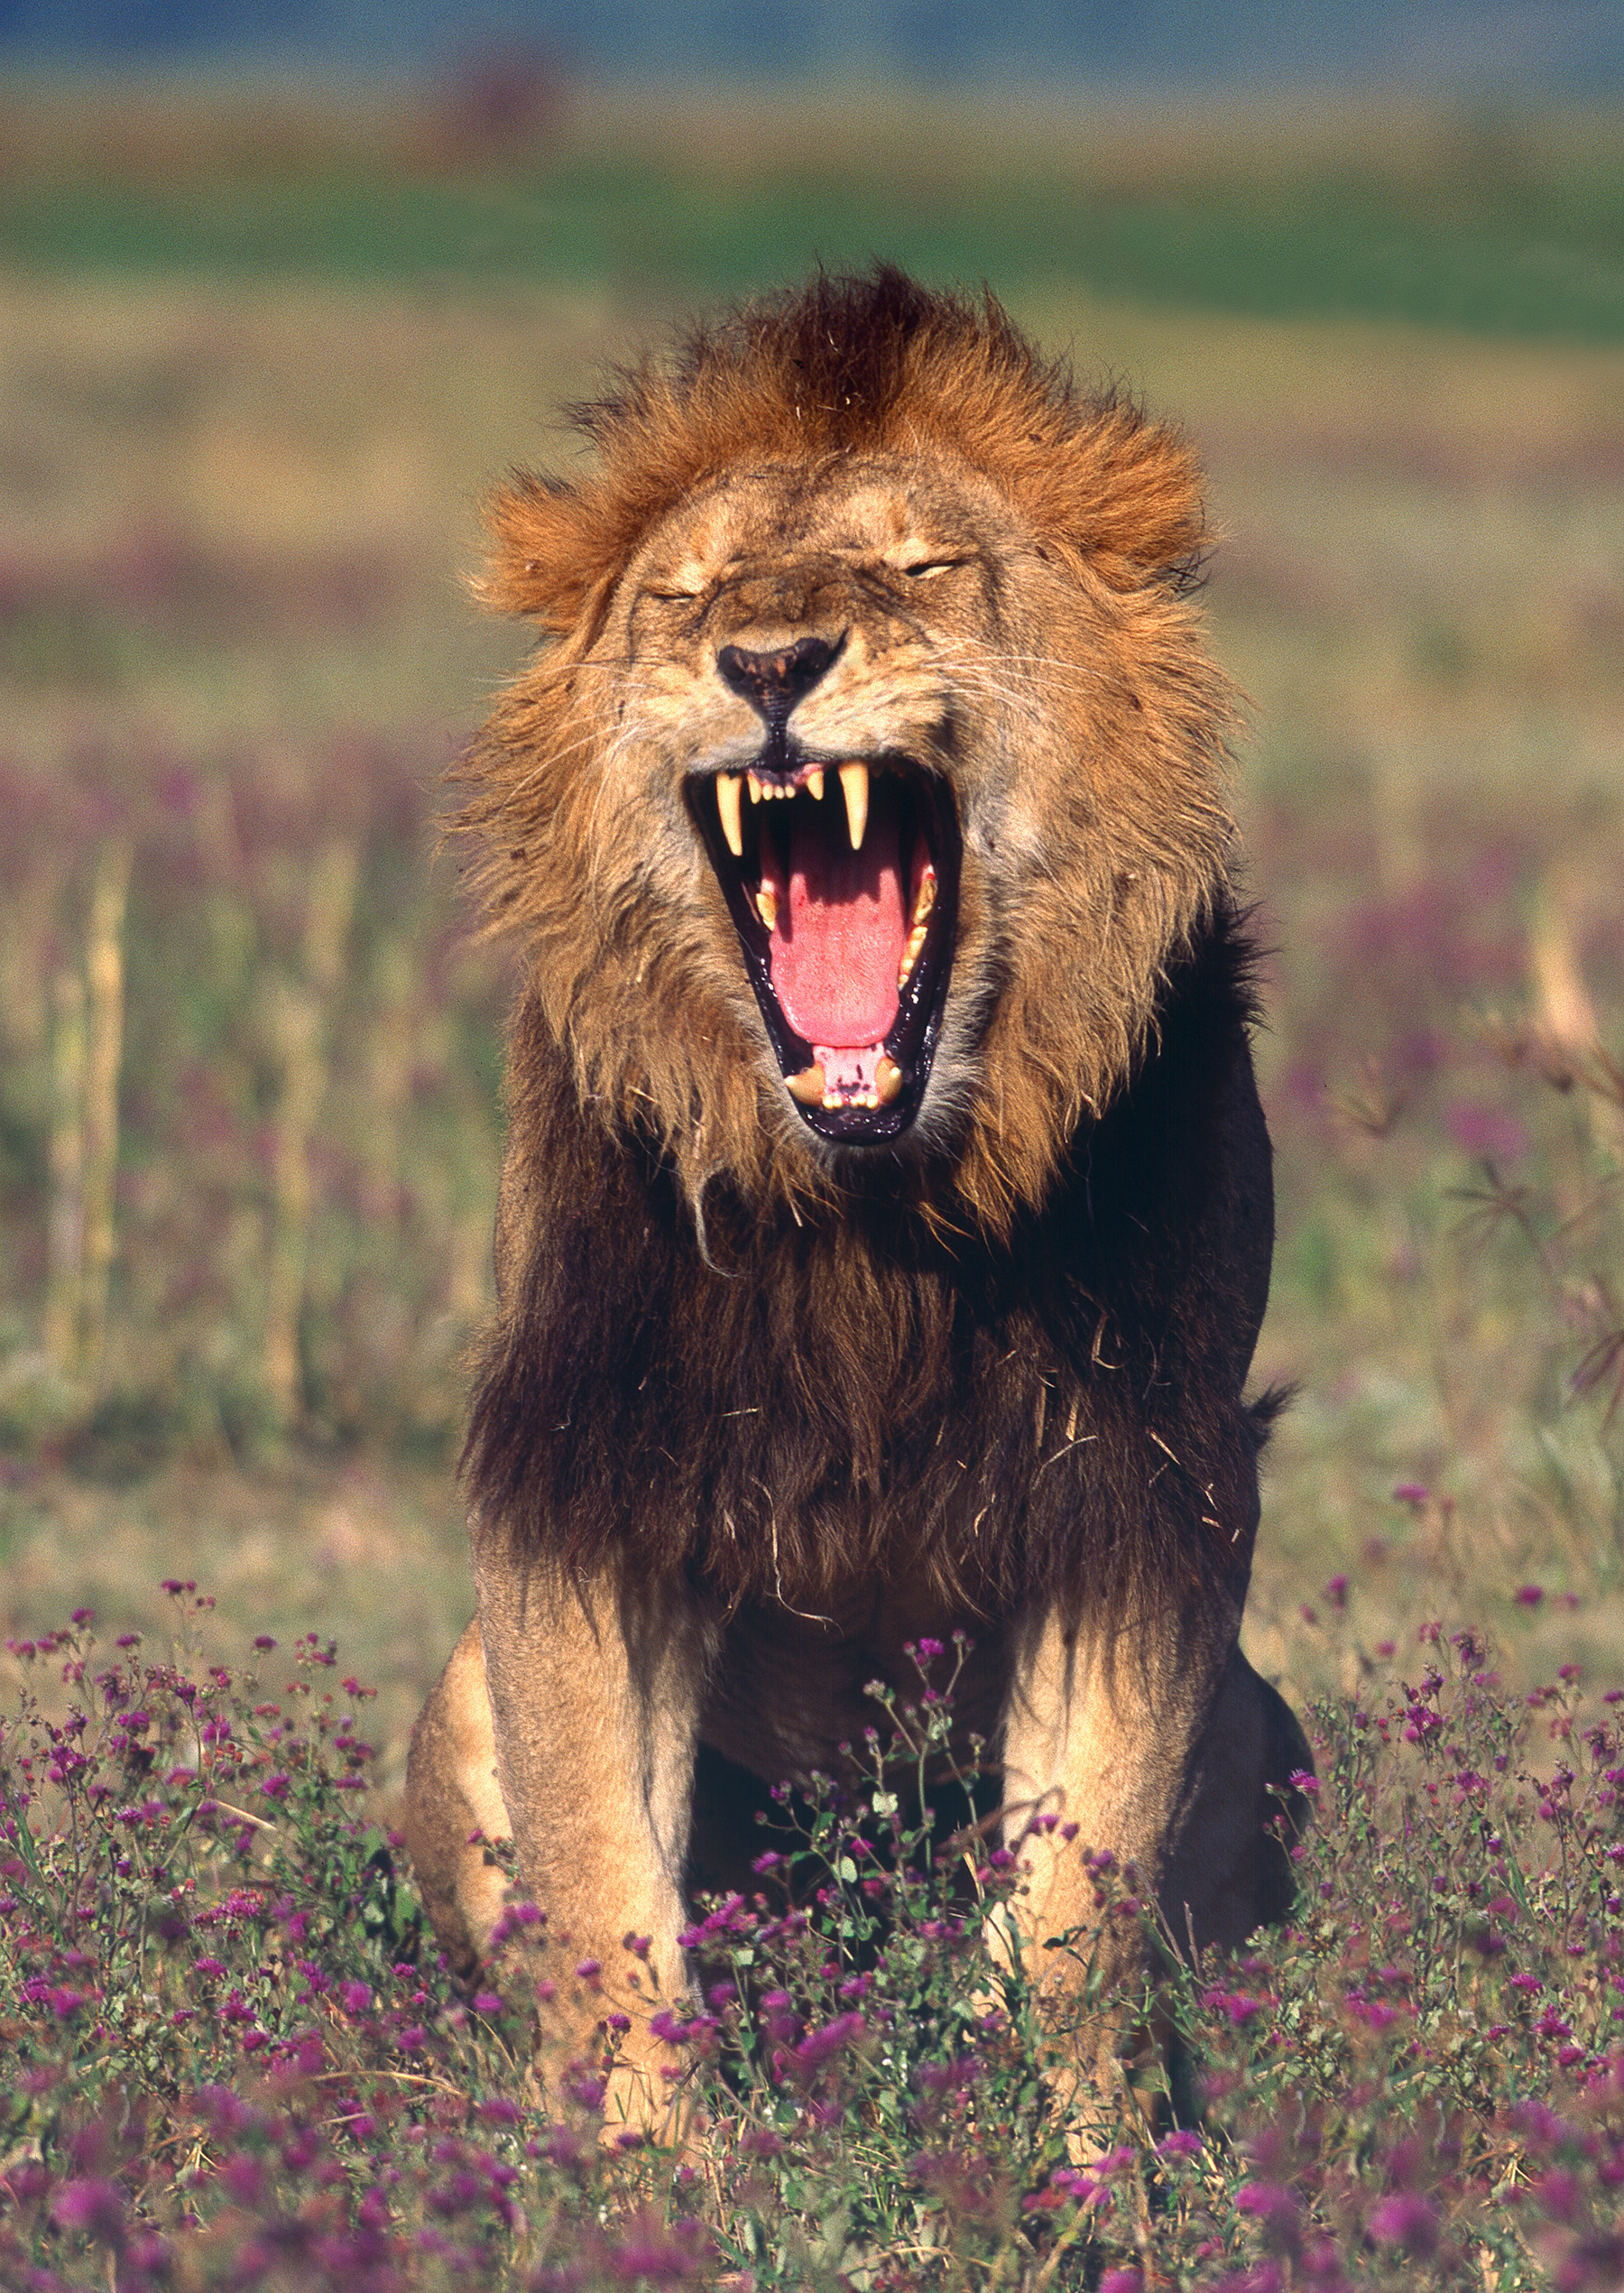
For example, at sunrise and sunset, you might encounter any of several types of lighting. Front lighting is the easiest to expose for because the direct, low-angled light fills in most of the areas in the subject that would be in shadow. The shot of the male lion, image 1, provides an example. Had it been taken two or three hours before sunset instead of 30 minutes before the sun touched the horizon, the dark mane would have been in deep shadow with little or no detail.
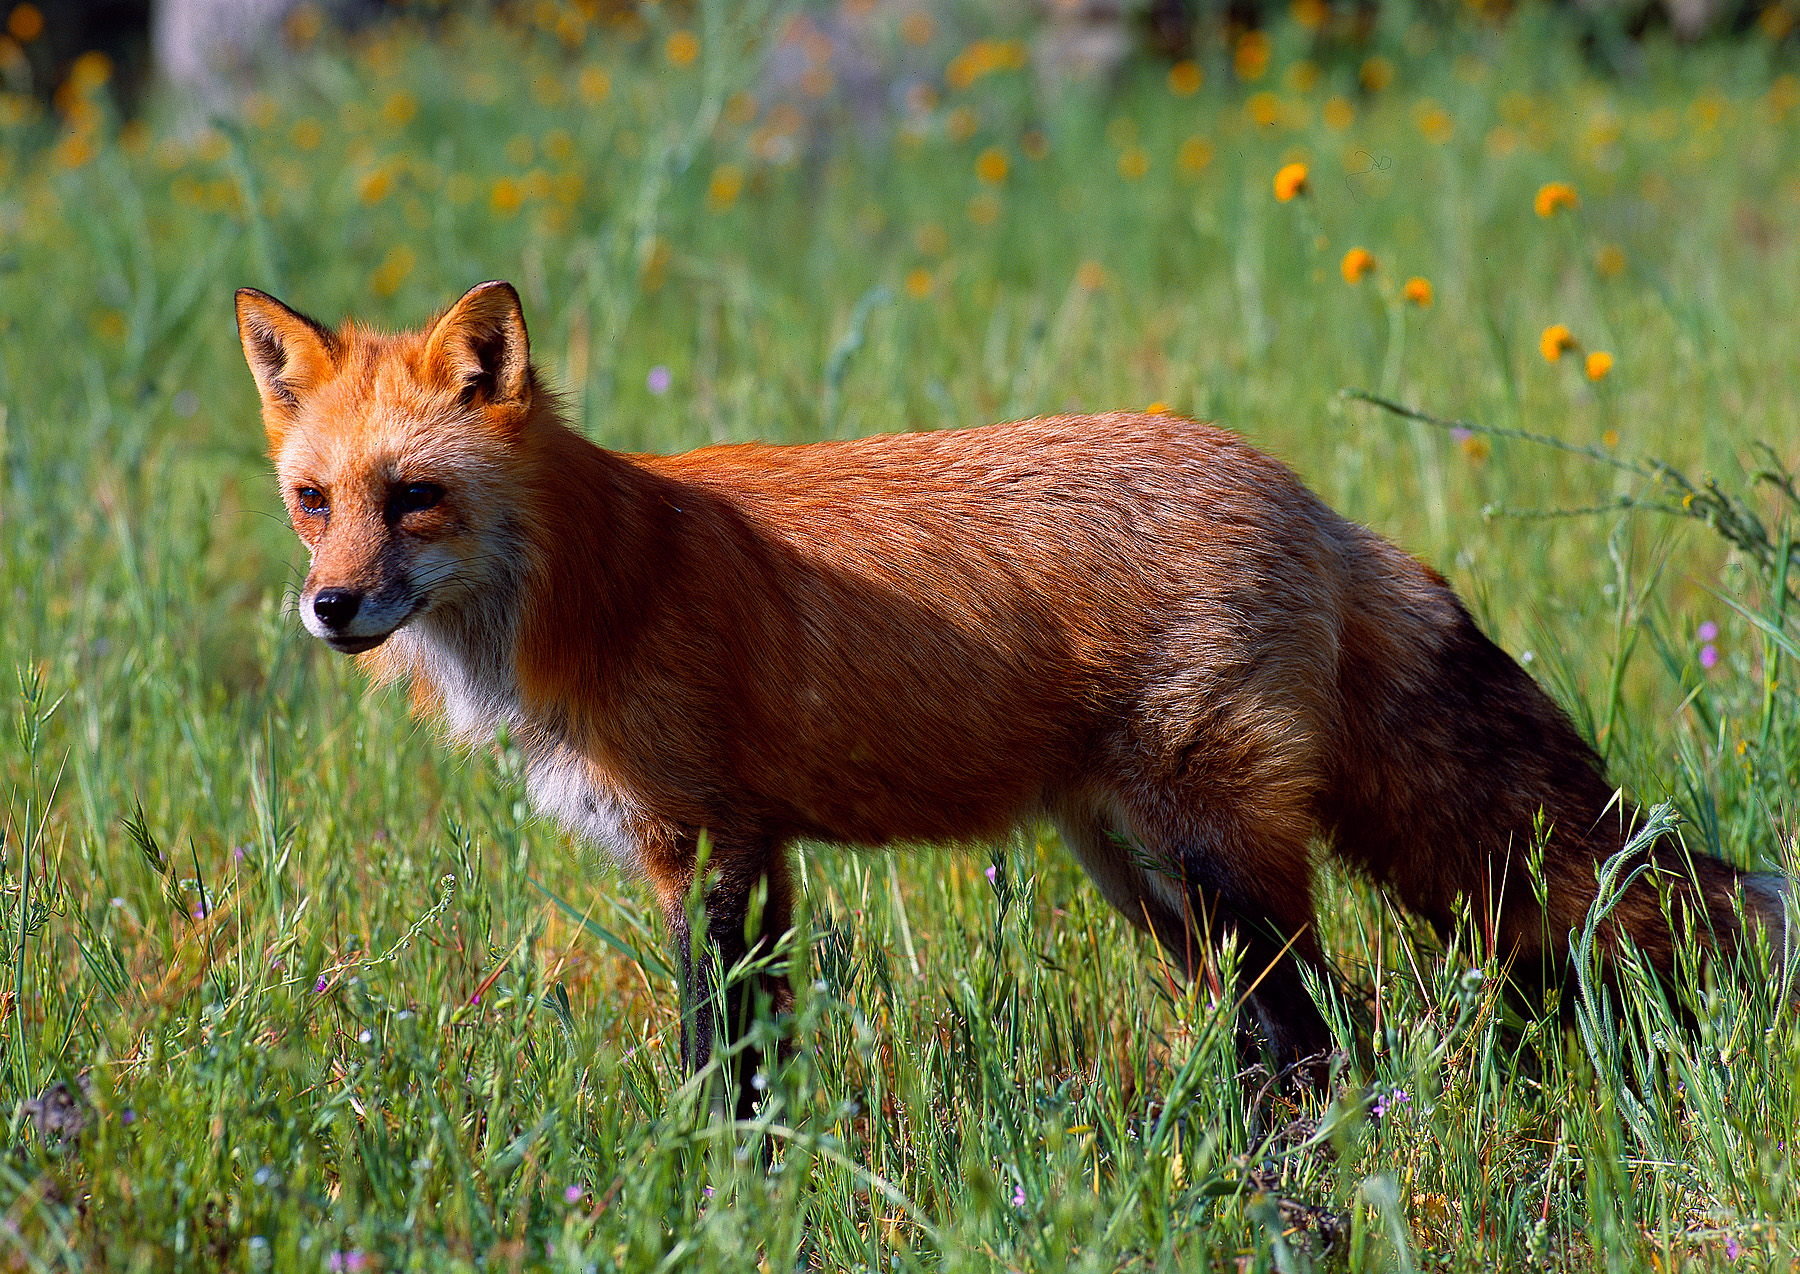
Light coming from the side is another characteristic type of illumination at sunrise and sunset. It creates pronounced textures, long shadows, and a compelling interplay of light and dark. The portrait of a red fox, image 2, offers an example of sidelighting. This kind of light presents a problem for built-in camera meters because if there are too many shadows, the meter tries to lighten them in its goal of making the scene middle toned. This probably is not what you want—after all, shadows should be dark relative to highlights. If the shadows in the picture of the fox were one f-stop lighter, we would see correctly exposed detail in them. But the highlights, which comprise the most important parts of the image, would be overexposed, and the picture would be ruined.
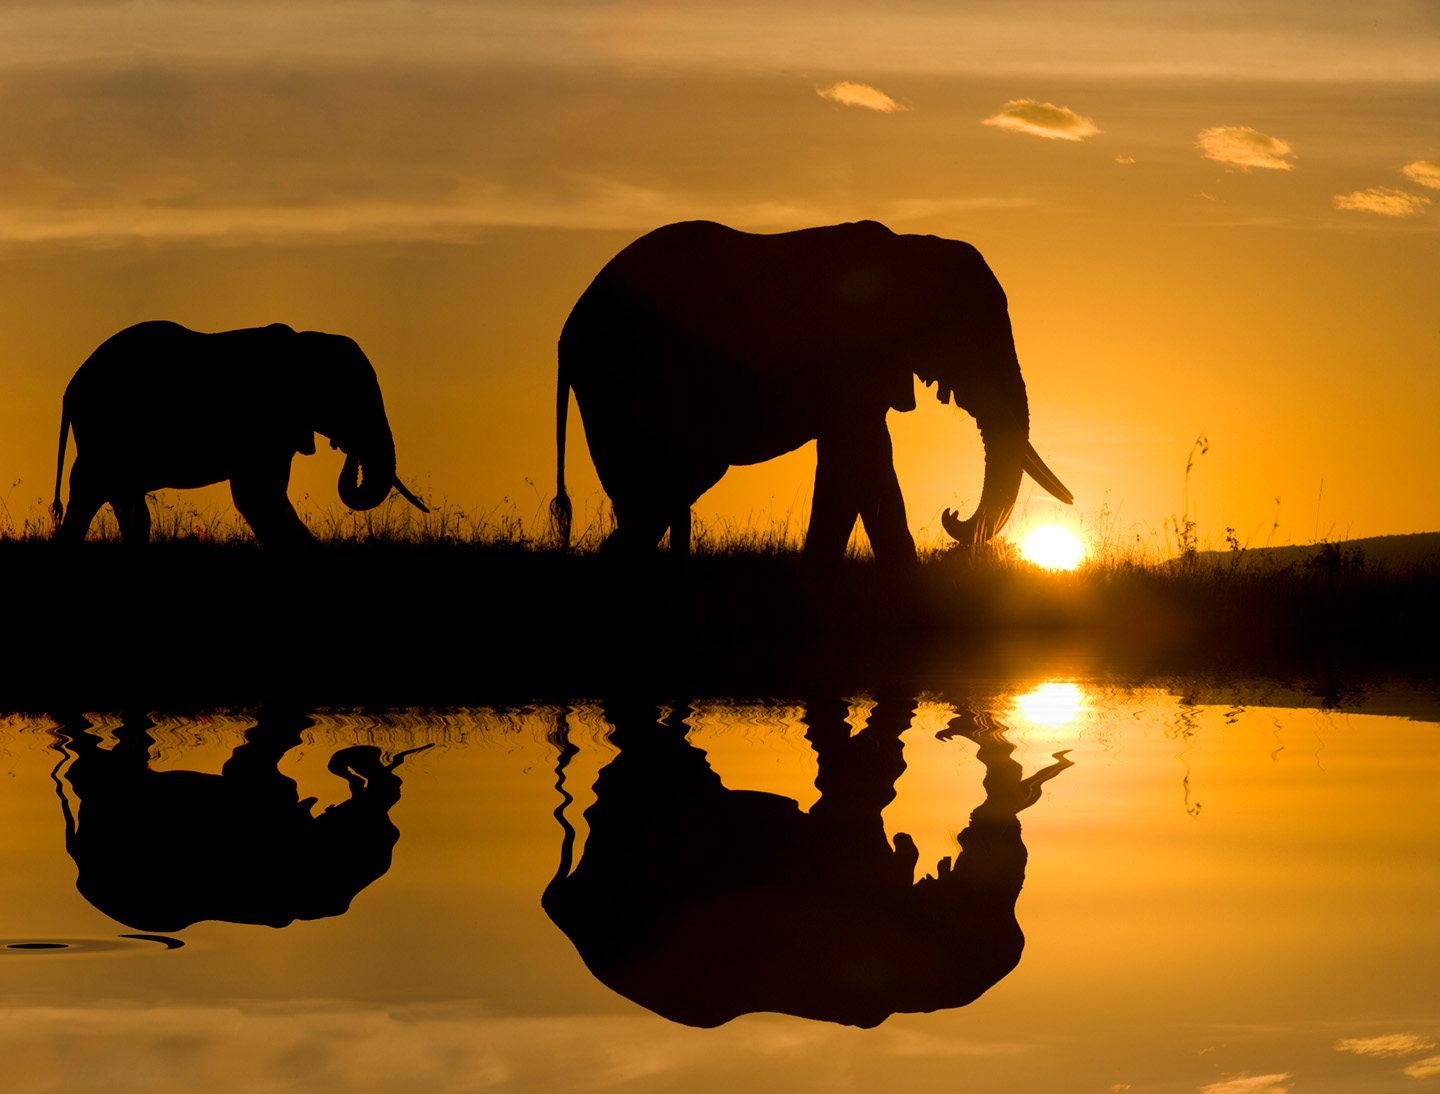
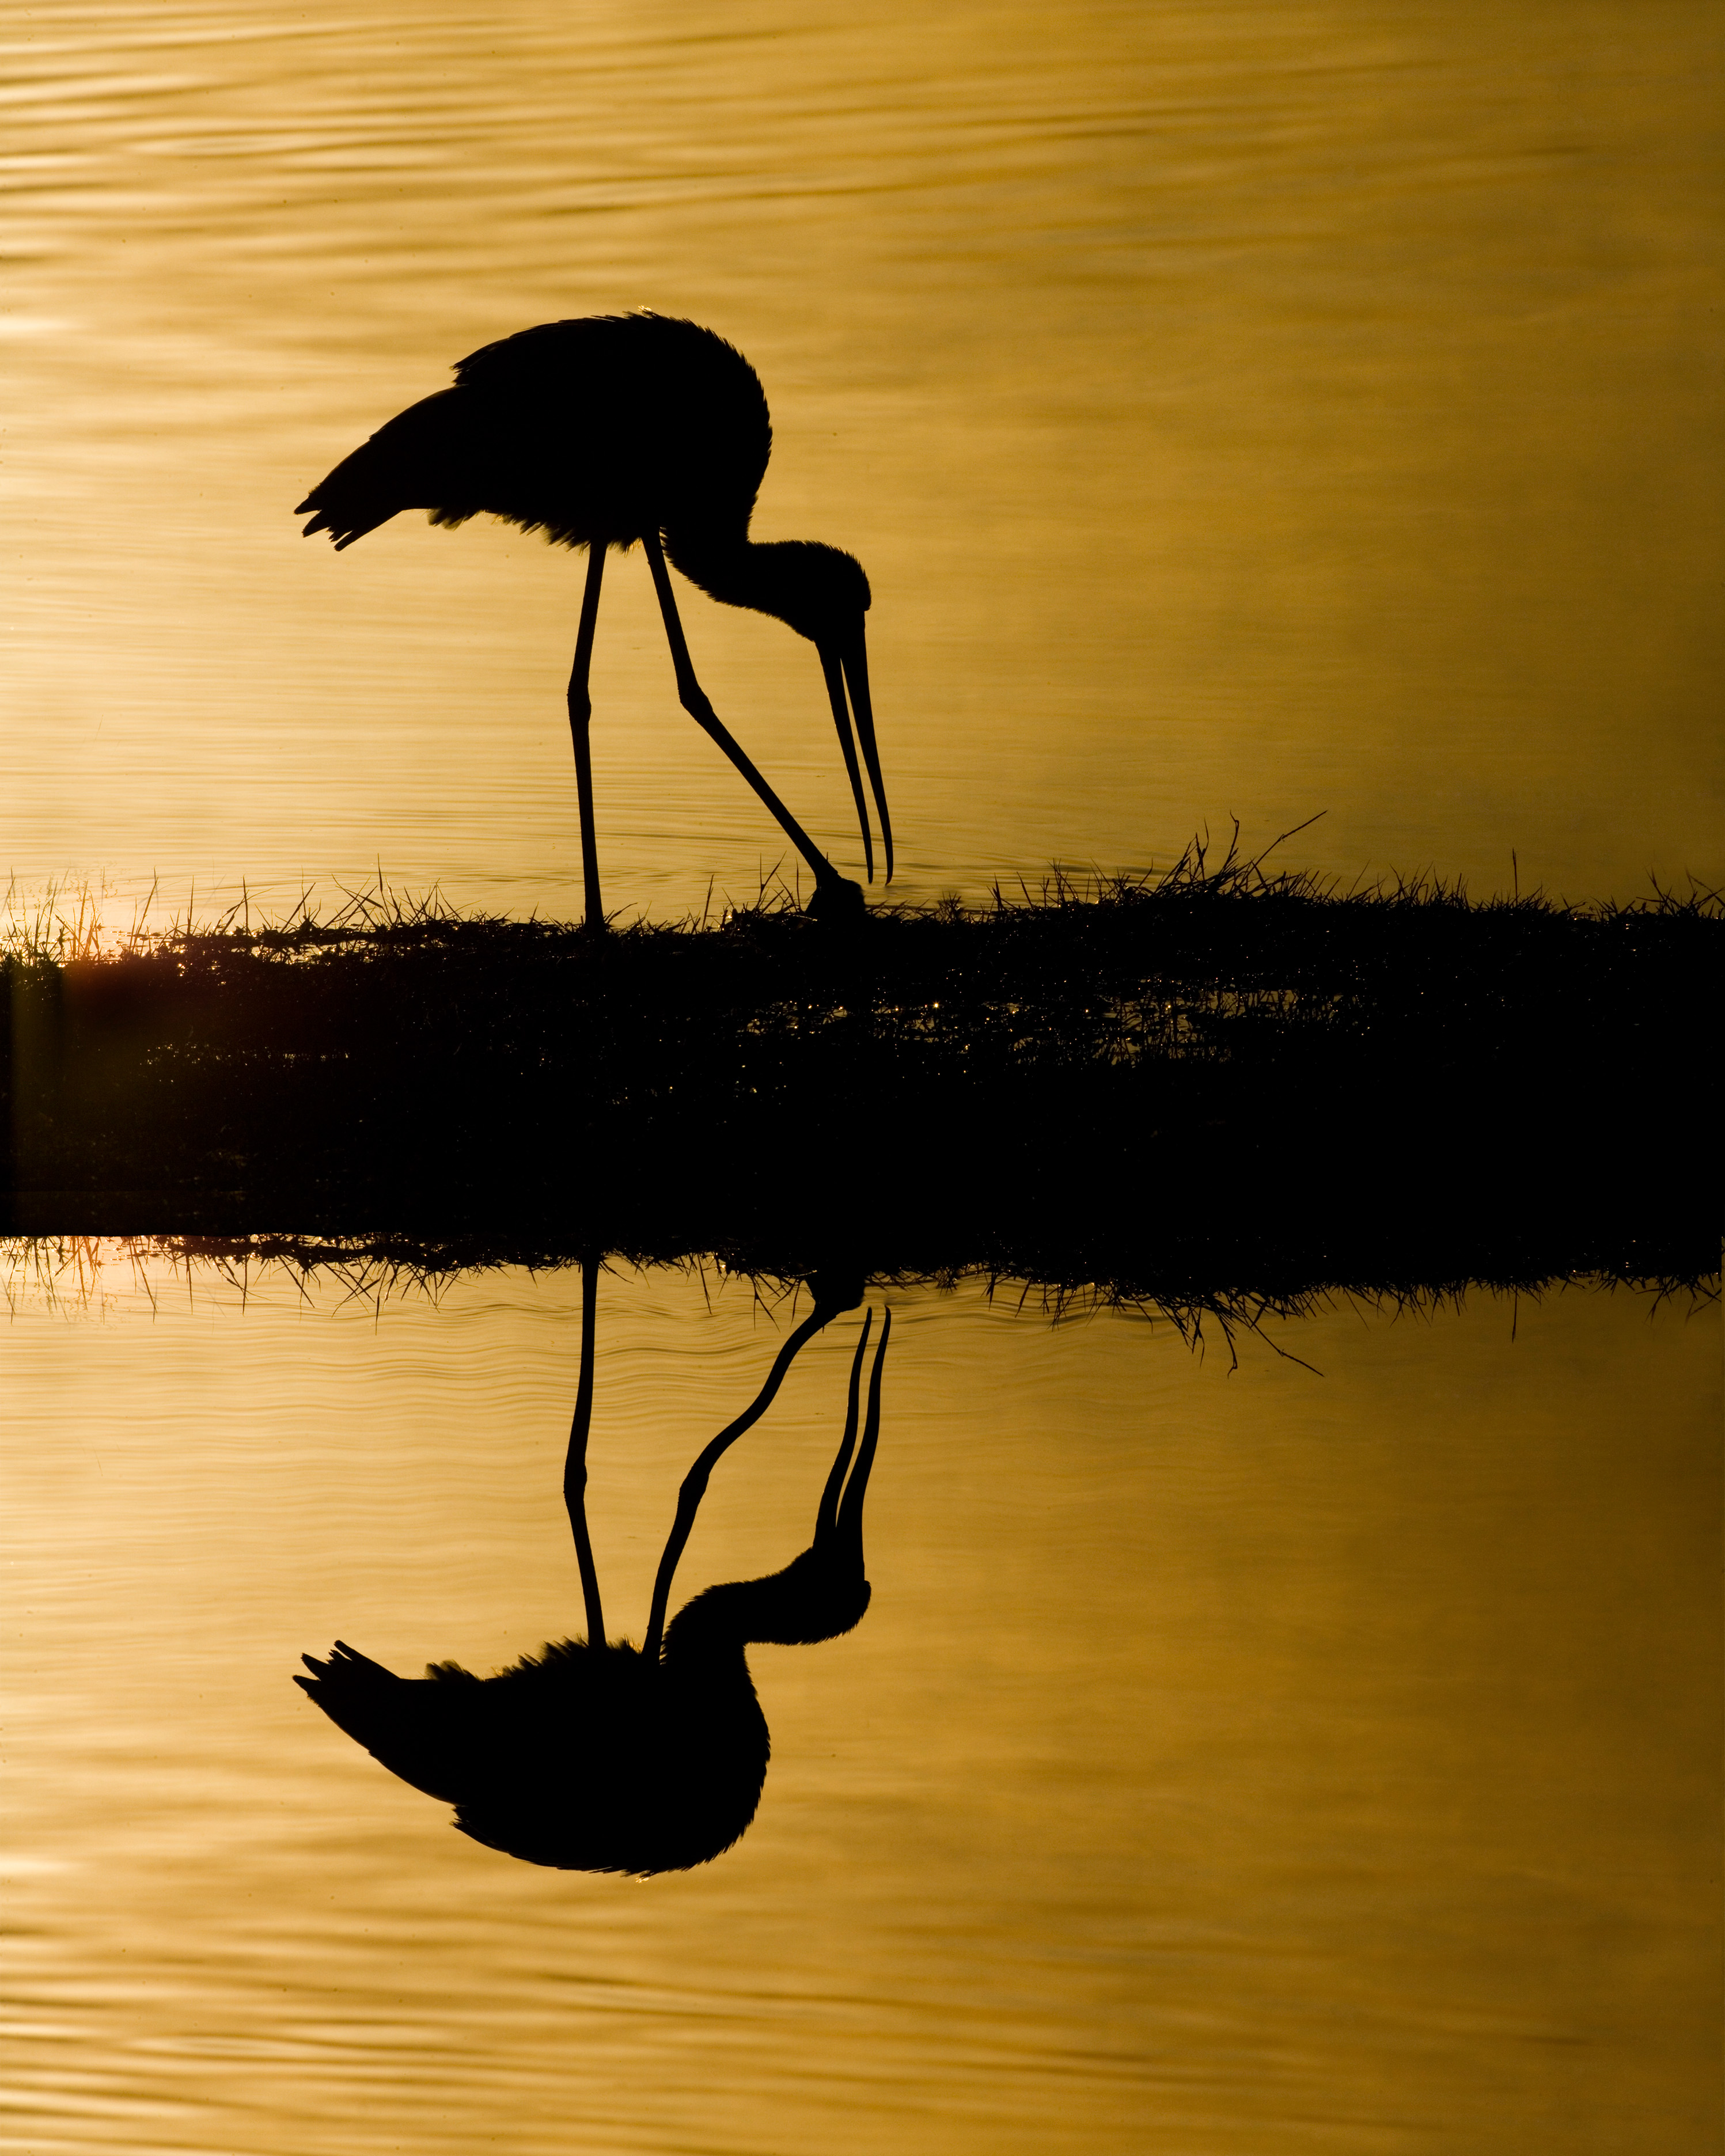
Backlighting presents one of the most dramatic types of lighting a photographer has to work with, and when you are shooting an animal with a beautiful form, it can help you produce striking results. The stork I photographed at sunrise, image 3, and the elephants at sunset, image 4, exemplify how dynamic this combination is. Moments like these in nature are very fleeting. They last for mere seconds, and you certainly don’t want to blow the opportunity of getting a great shot because the exposure isn’t correct.
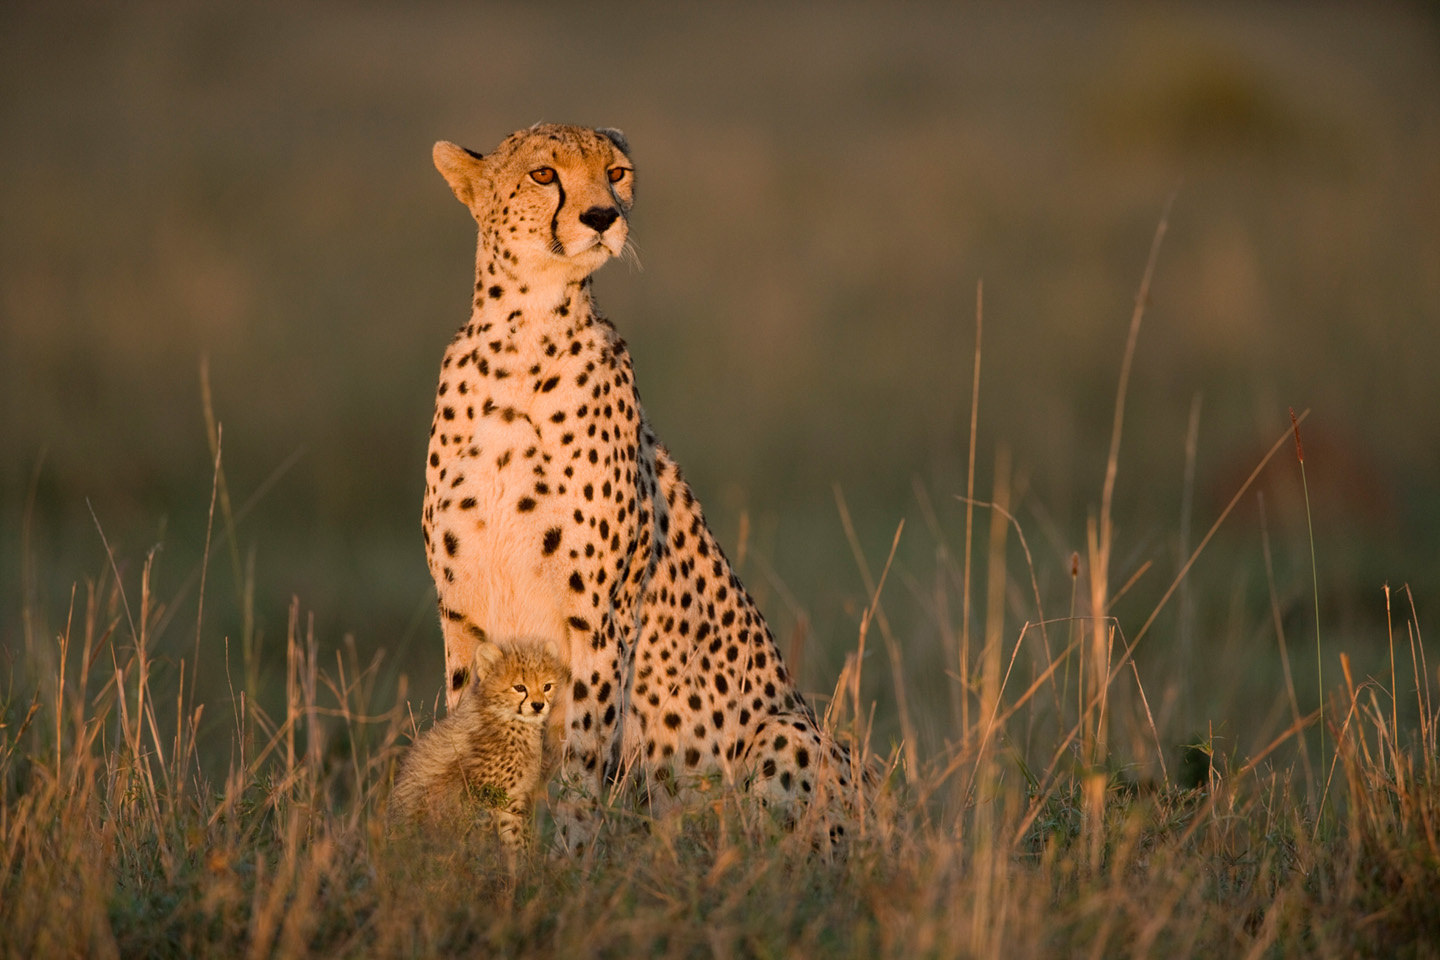
With a handheld spot meter, you can pinpoint the area in the frame that you want to be property exposed. With the front-lit shot of a cheetah mother and cub, image 5, I knew that the light chest of the cat would influence the in-camera meter and the image might be a little dark. Using the precise spot-metering capability of a handheld meter gave me the ability to read the scene accurately by choosing the middle-toned portion of the cat’s head as the basis for a reading.
Most digital SLRs have a spot metering mode as well, but they typically read 3% to 5% of the scene instead of the much more accurate 1-degree angle that Sekonic meters can read. If you read 3% to 5%, the zone that you’re measuring may be too large. It may include more than the middle-toned area. In the shot of a wolverine, image 6, you can see what I’m referring to. The red circle represents a 1-degree spot reading, and you can pinpoint a smaller area from which to take a reading. The green circle represents the zone that is read by a typical spot mode in a digital camera. The 3% to 5% area is larger and encompasses more than the middle-toned fur of the animal, and therefore the exposure may not be dependable.

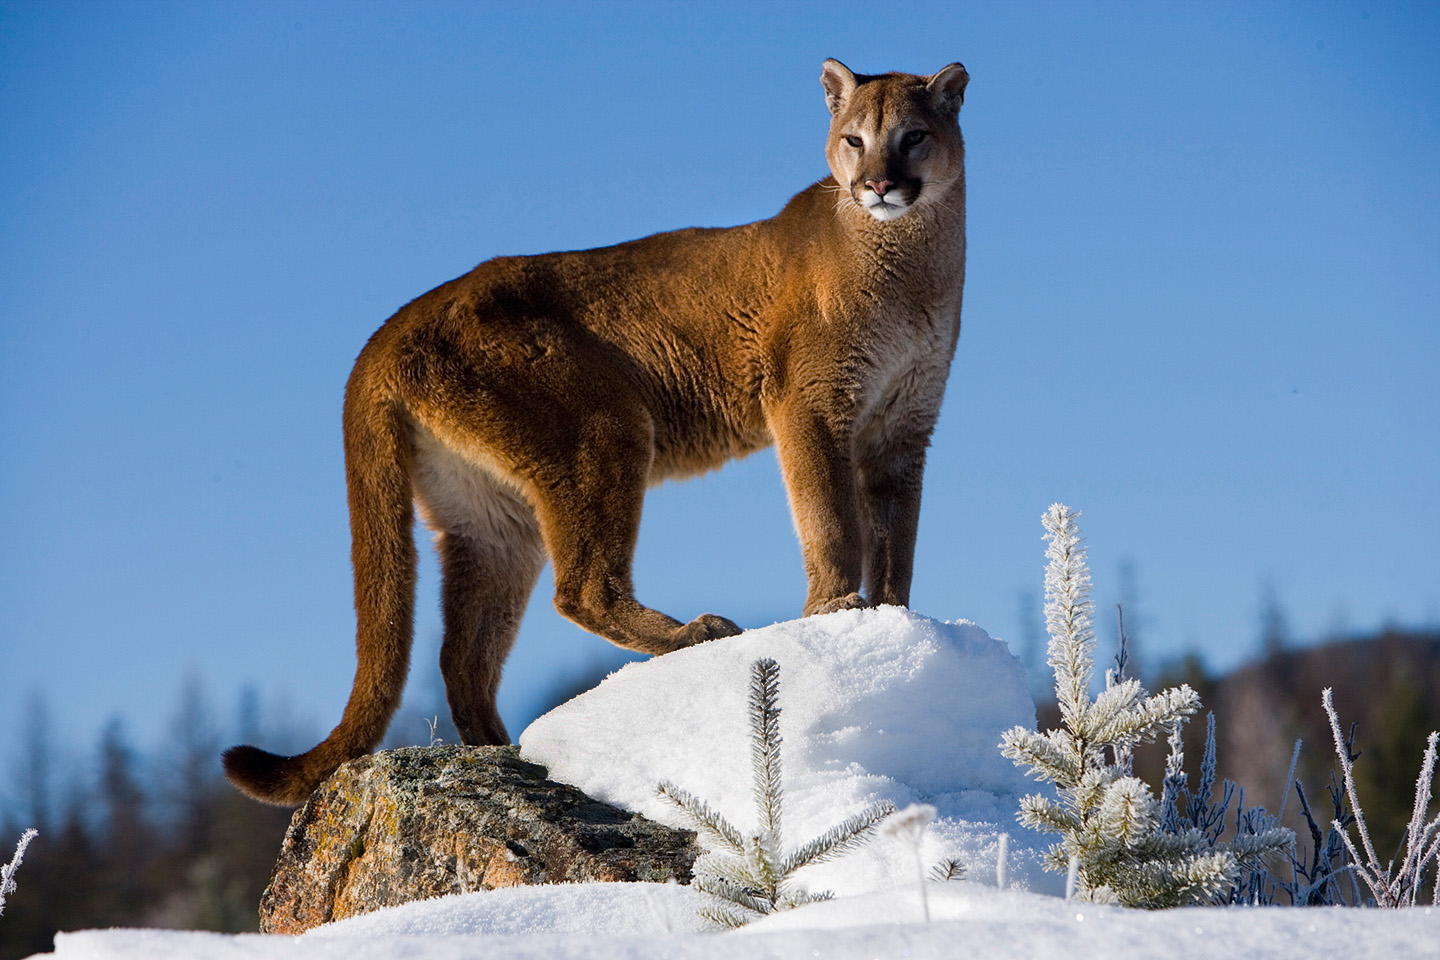
Good exposure is based on the ability to read the middle tone, or middle gray, areas of a subject in a precise manner. It takes time to develop a sensitivity to light so you can readily identify the areas of a subject or scene that are middle gray. Once you zero in on what middle gray looks like, your exposures will be spot-on. In the shot of a mountain lion, image 7, had the exposure been even 1/3 of an f-stop too light, I would have lost the texture and detail in the snow. Once that detail is lost, it can’t be recovered, even with from raw files or with extensive Photoshop work.
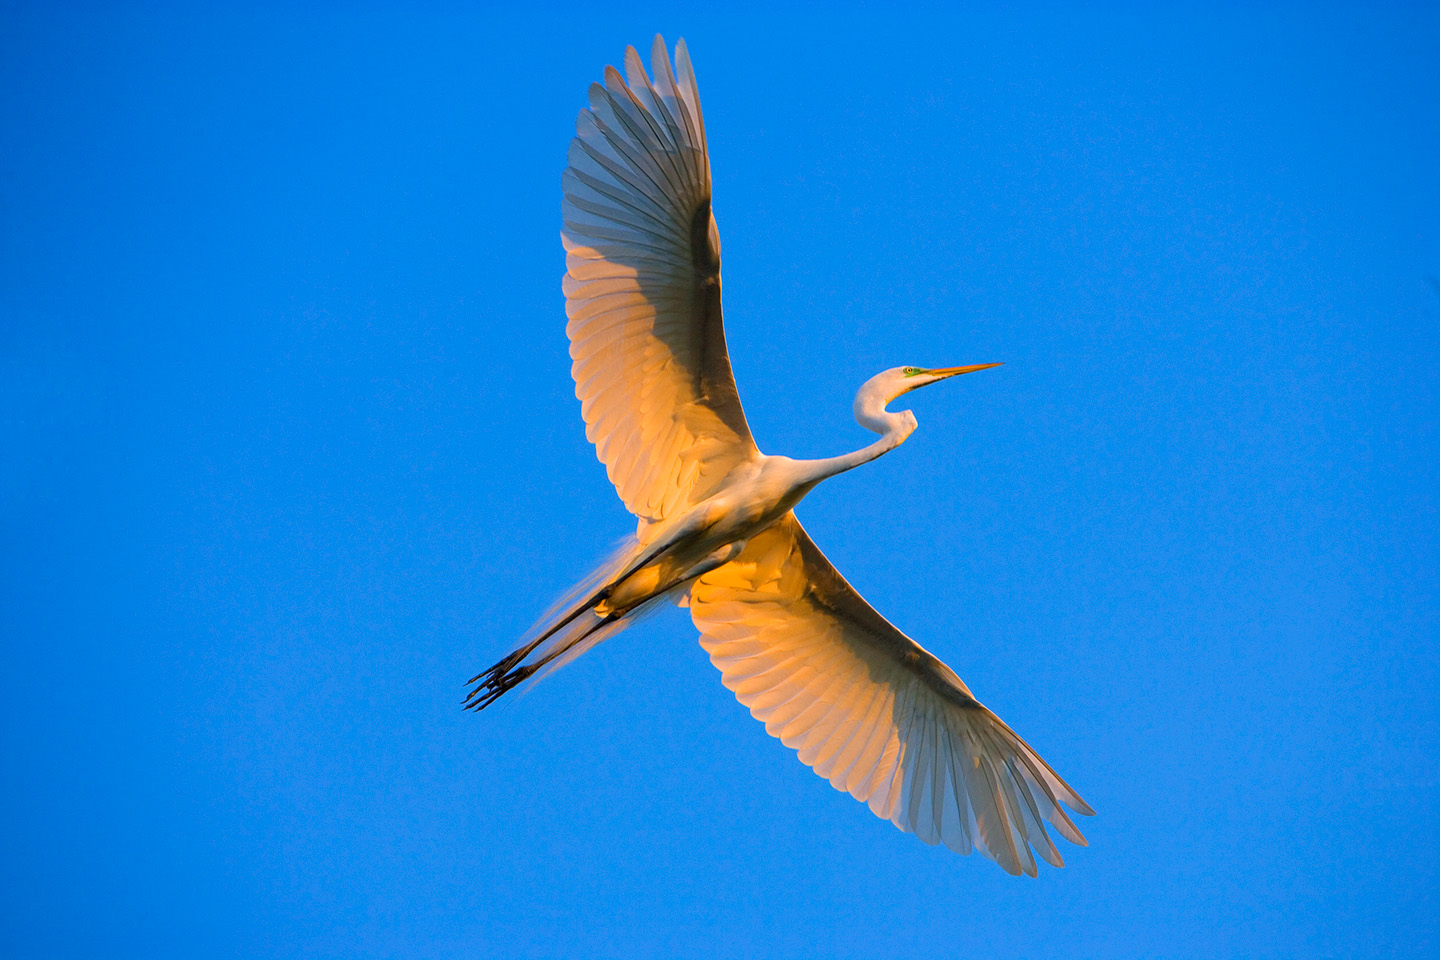
There are many instances in which a wildlife subject is moving too fast for you to use a handheld meter. It just becomes impossible to take a precise reading, because the light and shadows on the subject are changing every second. When I am faced with a situation like this, I first take a spot reading on a middle-toned area of the background. Assuming this area is receiving the same light as the subject, the reading will be accurate. The egret in image 8 is an example. I took a reading on the blue sky (a deep blue sky acts as a giant gray card), and as you can see, the exposure is perfect. In the shot of wild dogs, image 9, the same was true. These canines are always in motion, and to take the time for a precise reading on their fur is often impossible. Instead, I read the grass around them and then wherever they moved, the reading was accurate. Because they were moving into and out of the light from the setting sun, I took the reading mid-way between the weak sunlight and the shadow areas.

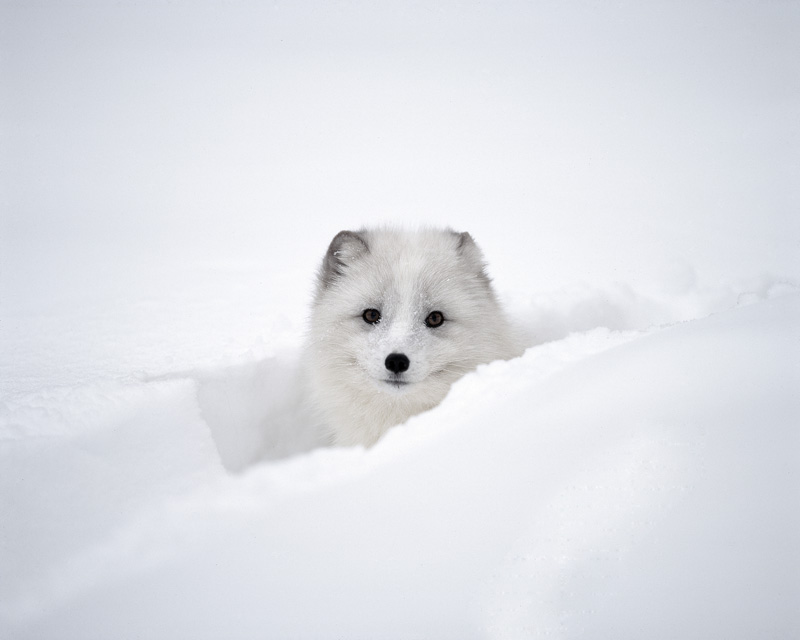
When I am faced with an impossible situation for a reflected metering mode to handle, such as the white-out in image 10, I switch to the incident mode on my handheld meter. Instead of reading light reflected from a scene, an incident reading interprets the ambient light coming from the sky and falling on the scene. As long as the meter is in the same light as the subject, it will be perfectly accurate. I don’t have to worry about the meter being fooled by the light tones of the subject. When I use incident mode, the tones of the subject and the scene are no longer relevant.
Visit Jim online to see his work, online courses, photo workshops, photo tours, and more!
All text and images in this article are © Jim Zuckerman.