Metering at Night
What are your odds of getting exposure right with an in-camera meter at night? Let's just say you shouldn't put any money on it. Jim Zuckerman explains how you can get better results with a handheld meter when lights are low.
The built-in light meter in your camera is completely unreliable when shooting at night. If I were giving odds, I’d say your chances of taking a photograph with correct exposure using a through-the-lens (TTL) meter—which is the most sophisticated type of in-camera meter available today—would be one in ten. There are two reasons for this: First, night compositions consist mostly of very dark or black shadows. In an attempt to interpret this as middle gray, the picture becomes lighter and is therefore overexposed. Since the ideal scenario is to have total control over your exposures, that isn’t acceptable. If the night sky is included in the shot, such as in the photo of the Gateway Arch in St. Louis, image 1, that makes it even more difficult for an in-camera meter to read the scene accurately.
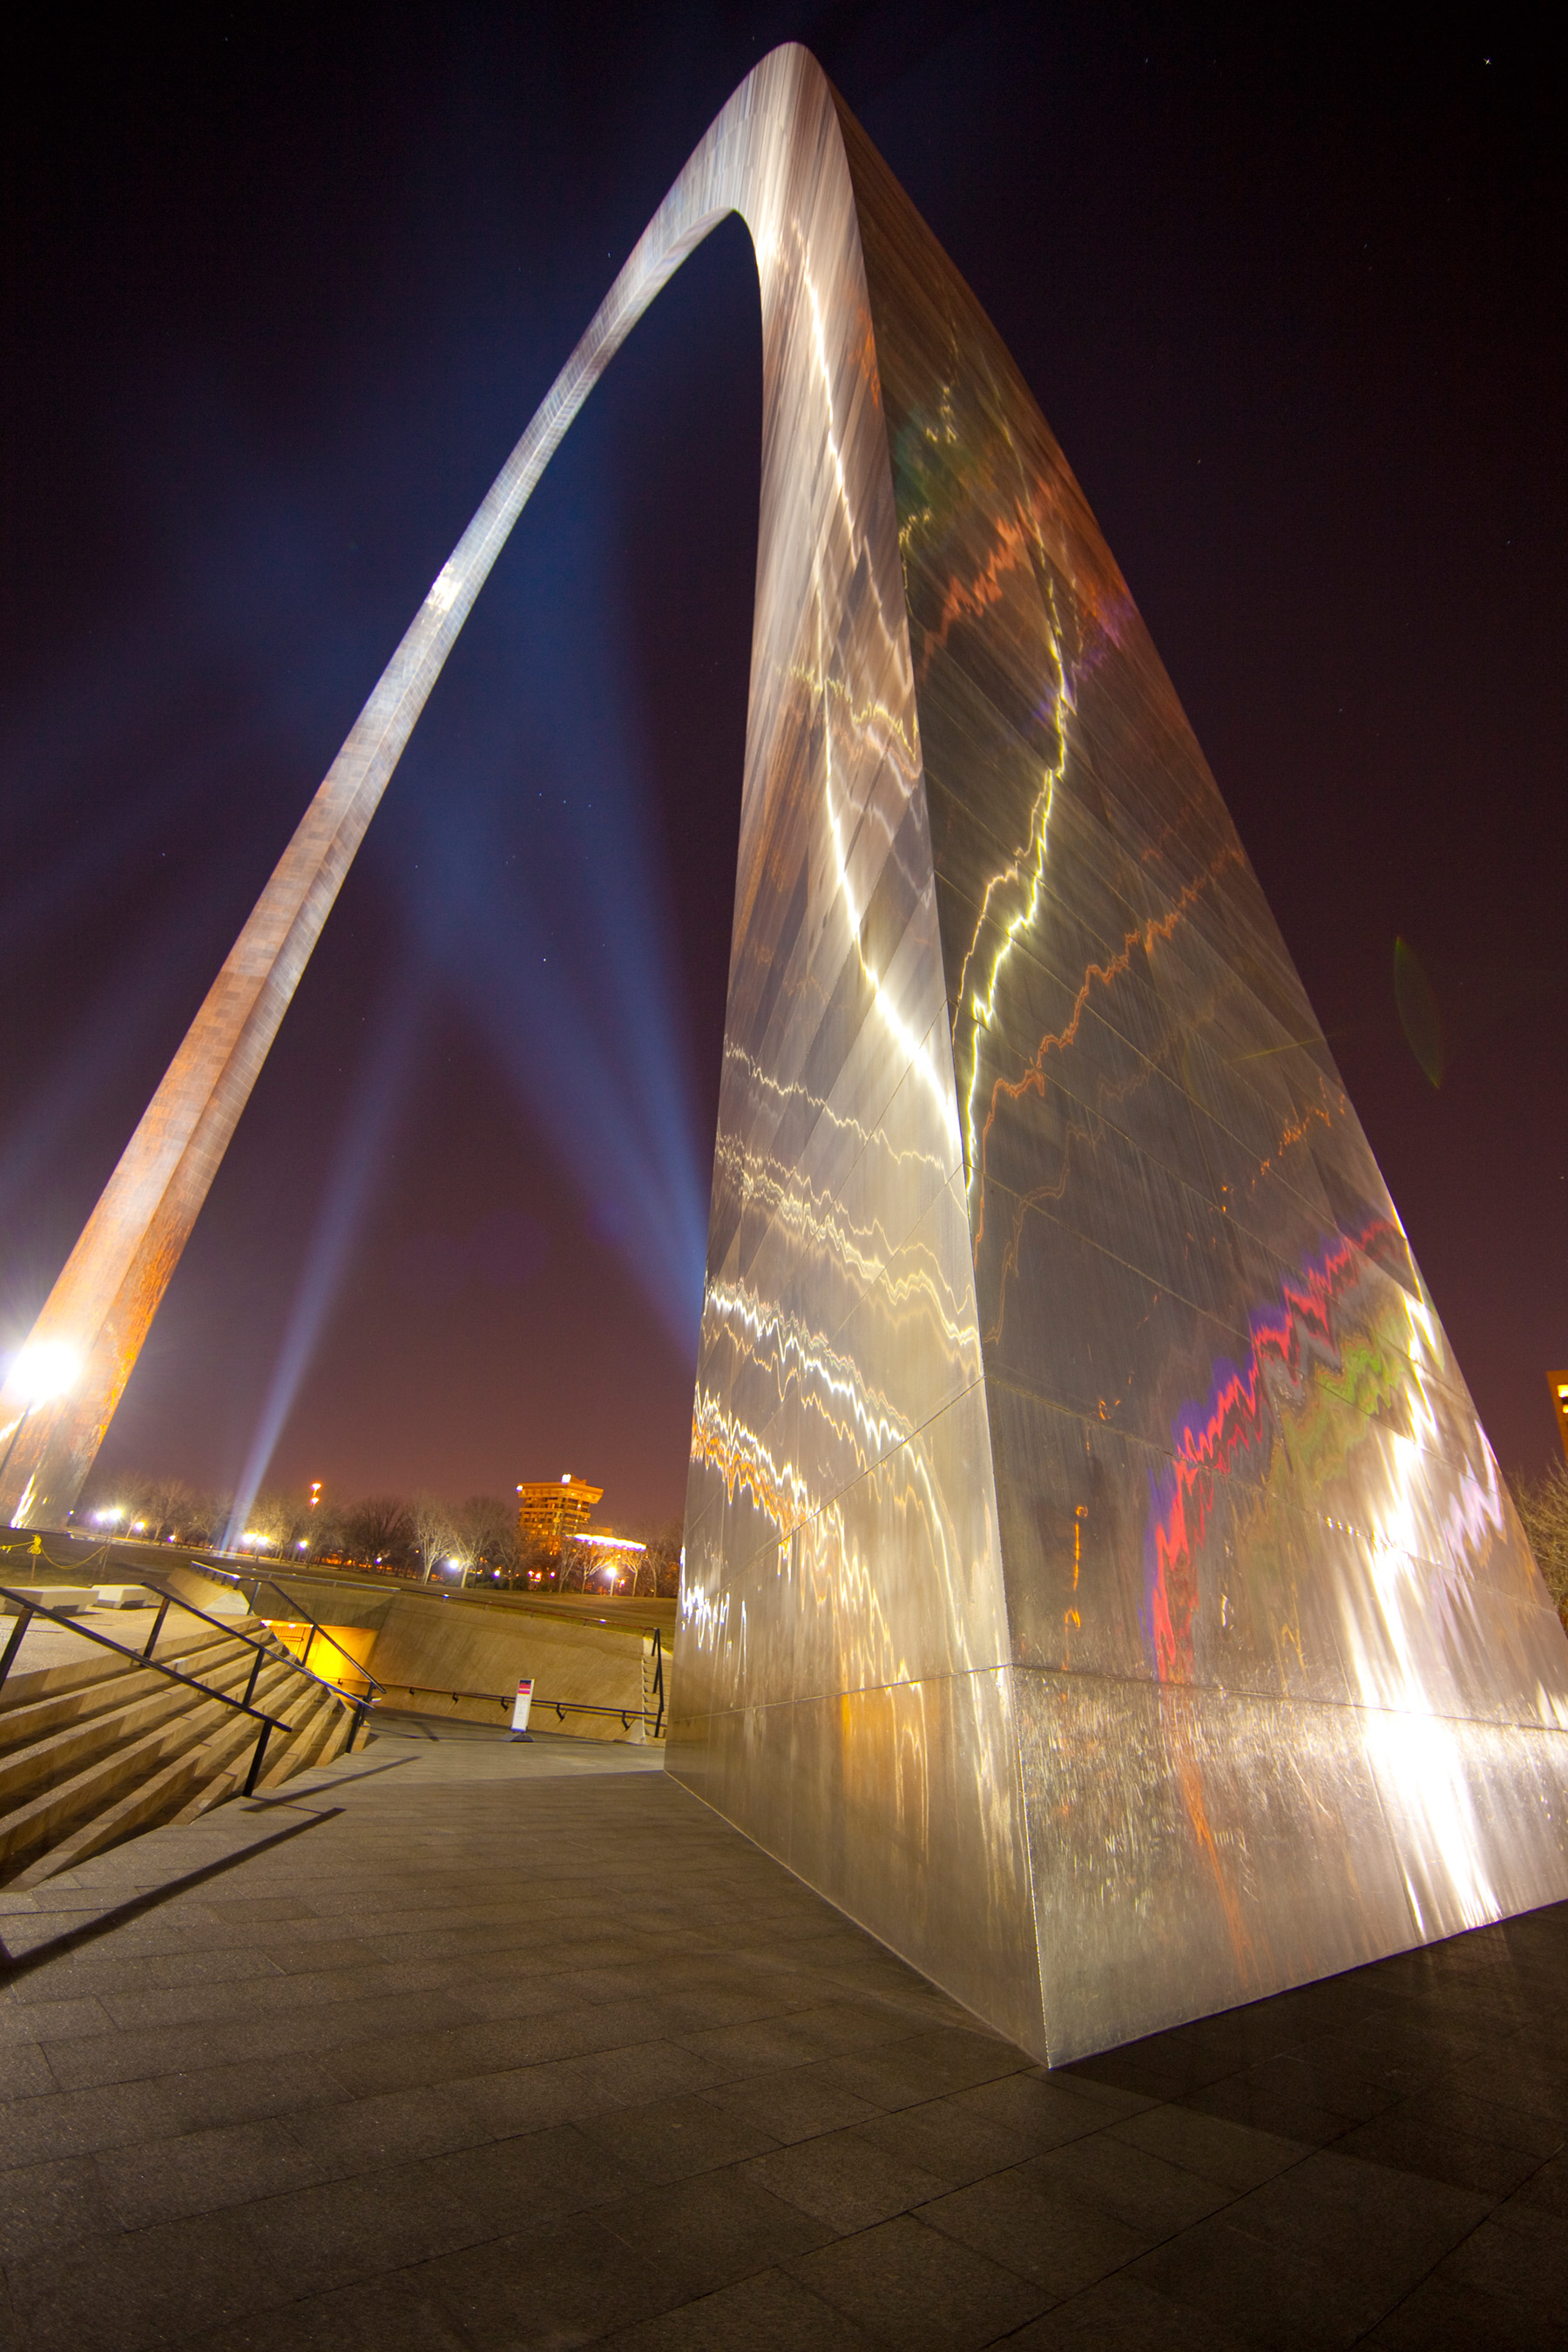
Image 1
Second, if there are brilliant highlights in the shot, like street lamps, neon marquees, or the headlights of on-coming cars—as in the shot of the Roman Colosseum, image 2—the meter will err in the other direction. In trying to make the highlights middle toned, it makes the picture too dark. An underexposed image may render highlights with some detail, but the rest of the picture will be hopelessly underexposed with a loss of detail in most or all of the shadows.
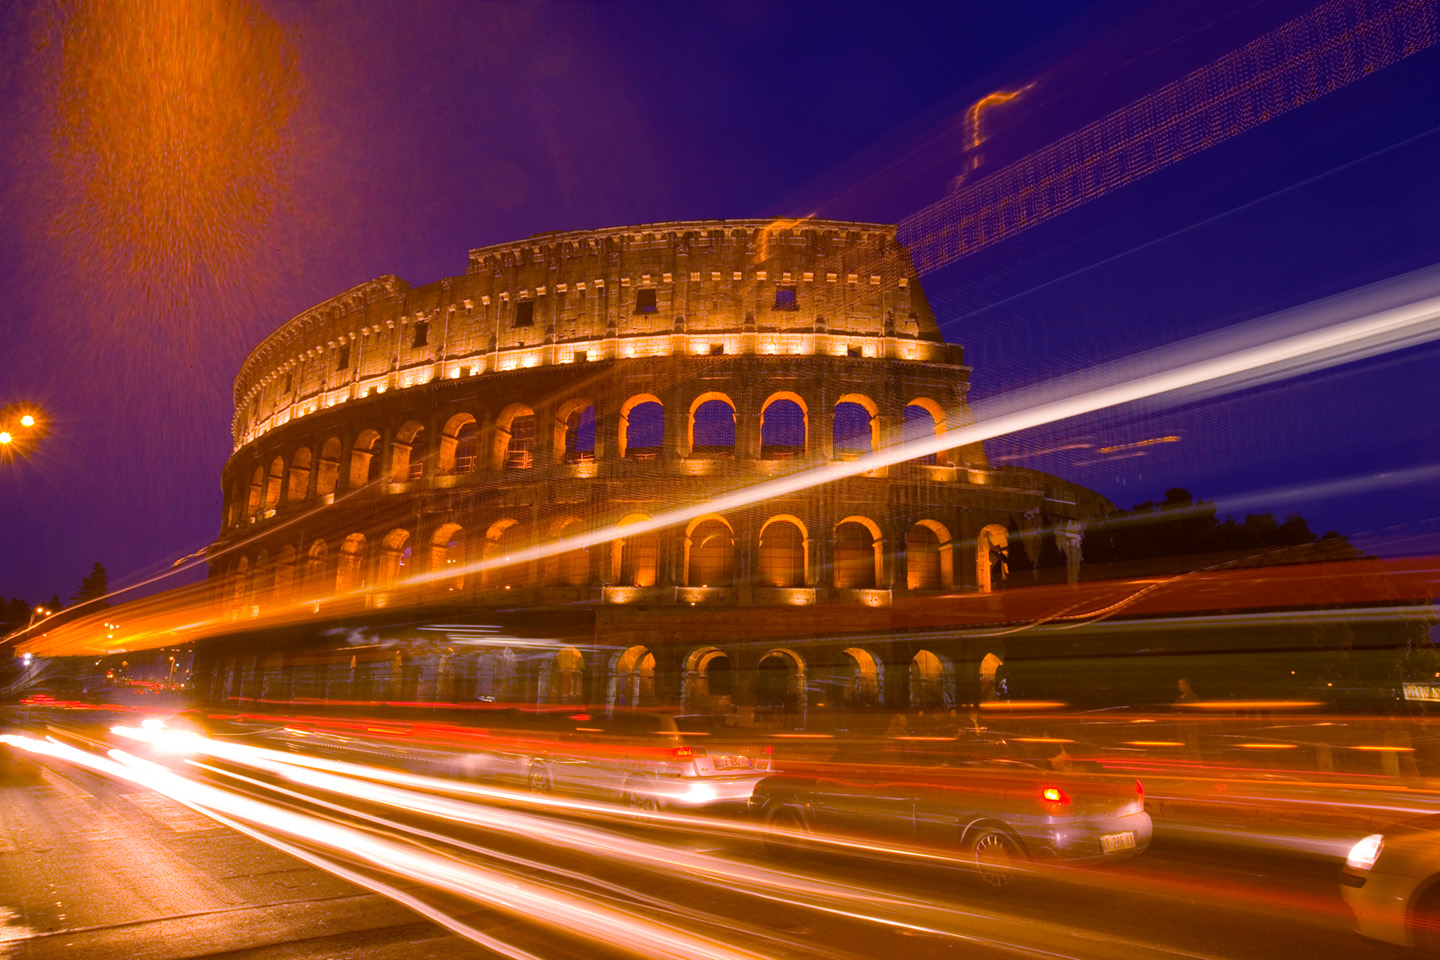
Image 2
Another issue is that if you include traffic lights in the composition, as the cars move past the meter the light reading changes constantly depending on how many bright lights or shadows the meter is detecting. This is very confusing because you don’t know which meter reading to trust.
You may think that the dark shadows and the bright highlights will balance each other and the exposure will end up being perfect. This doesn’t happen. There would have to be equal amounts of shadow and highlight for this to work, and in the real world, that’s unlikely. The truth is that any combination of extremely bright highlights juxtaposed with dark shadows is a mystery to an in-camera meter. It tries to make sense of it to give you a correct exposure, but in most situations it fails because it only understands subjects that are middle toned. Even in a picture like the aerial view of Chicago in image 3, where the highlights and shadows seem fairly evenly distributed, there is no way to be able to predict if the meter will give you the kind of exposure you want.
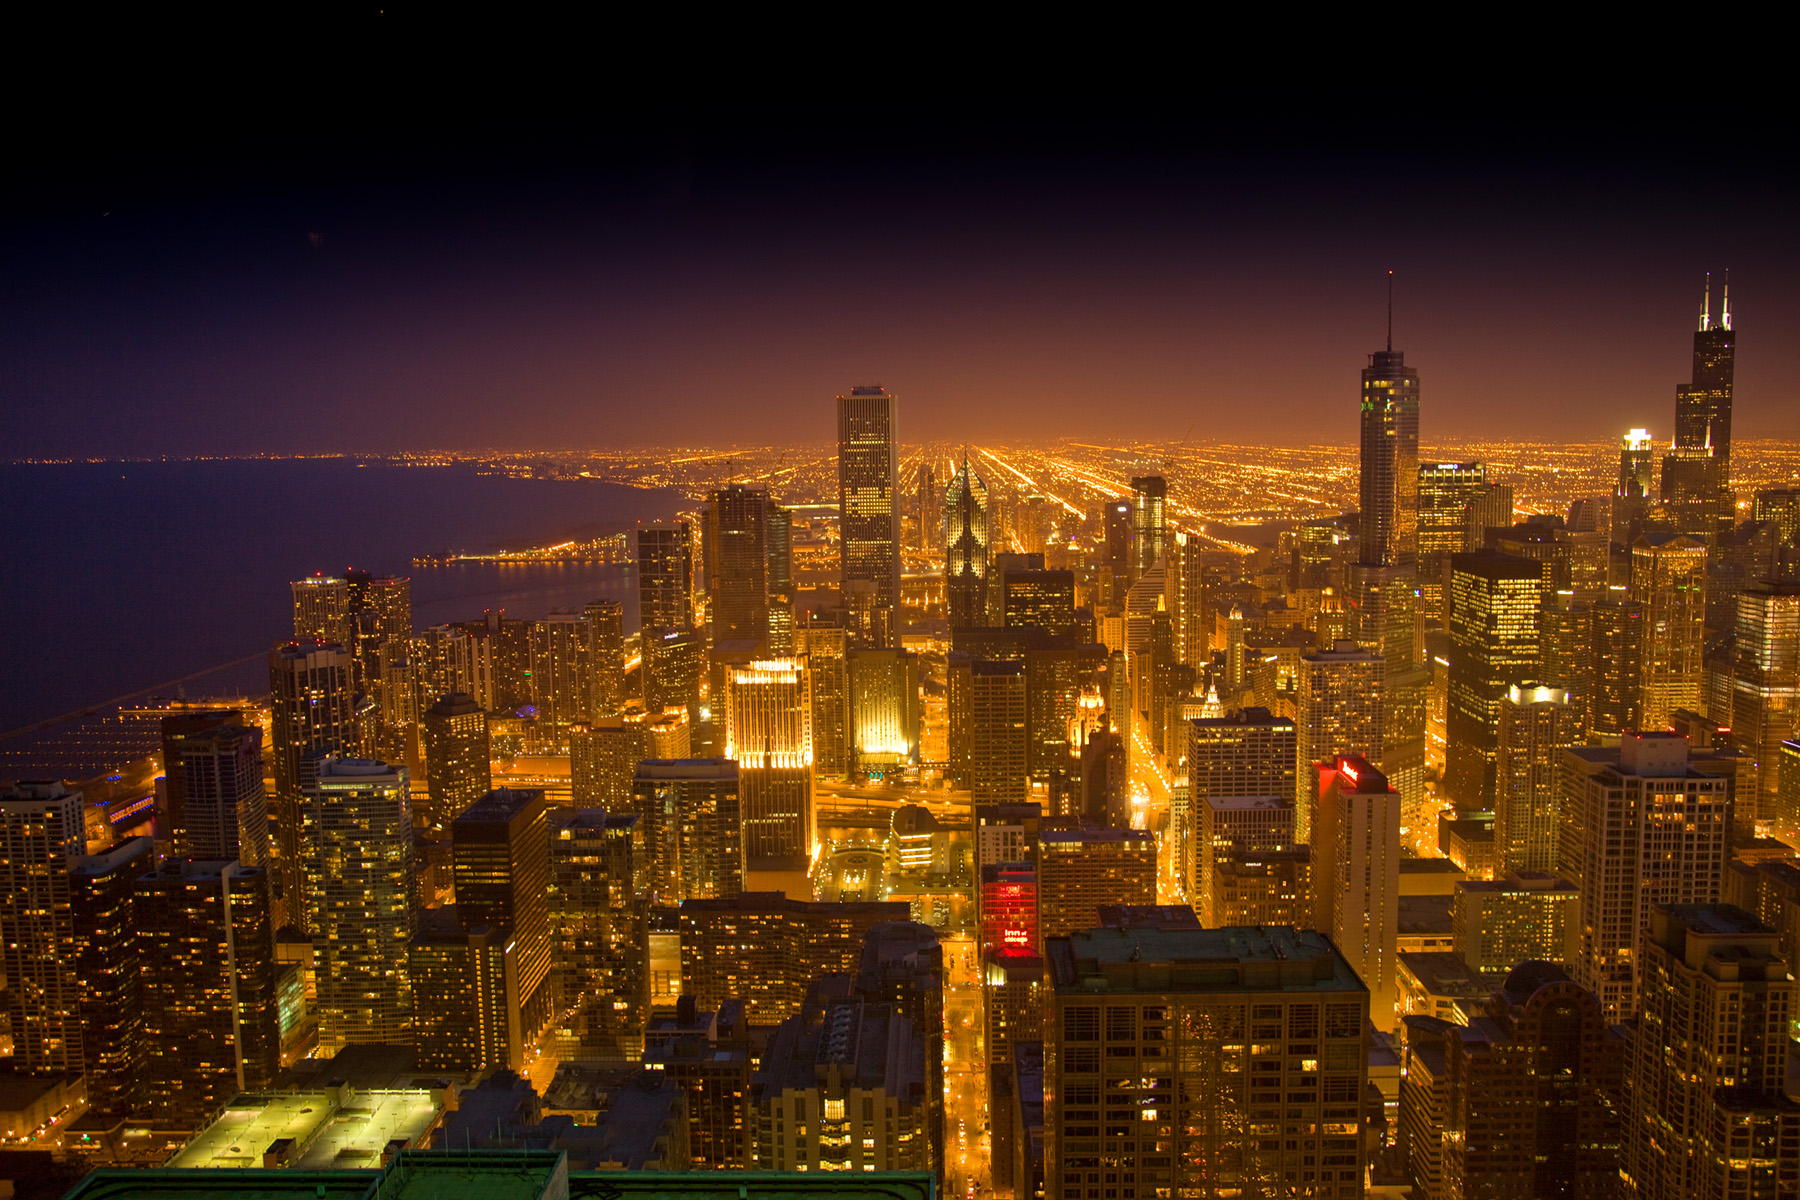
Image 3
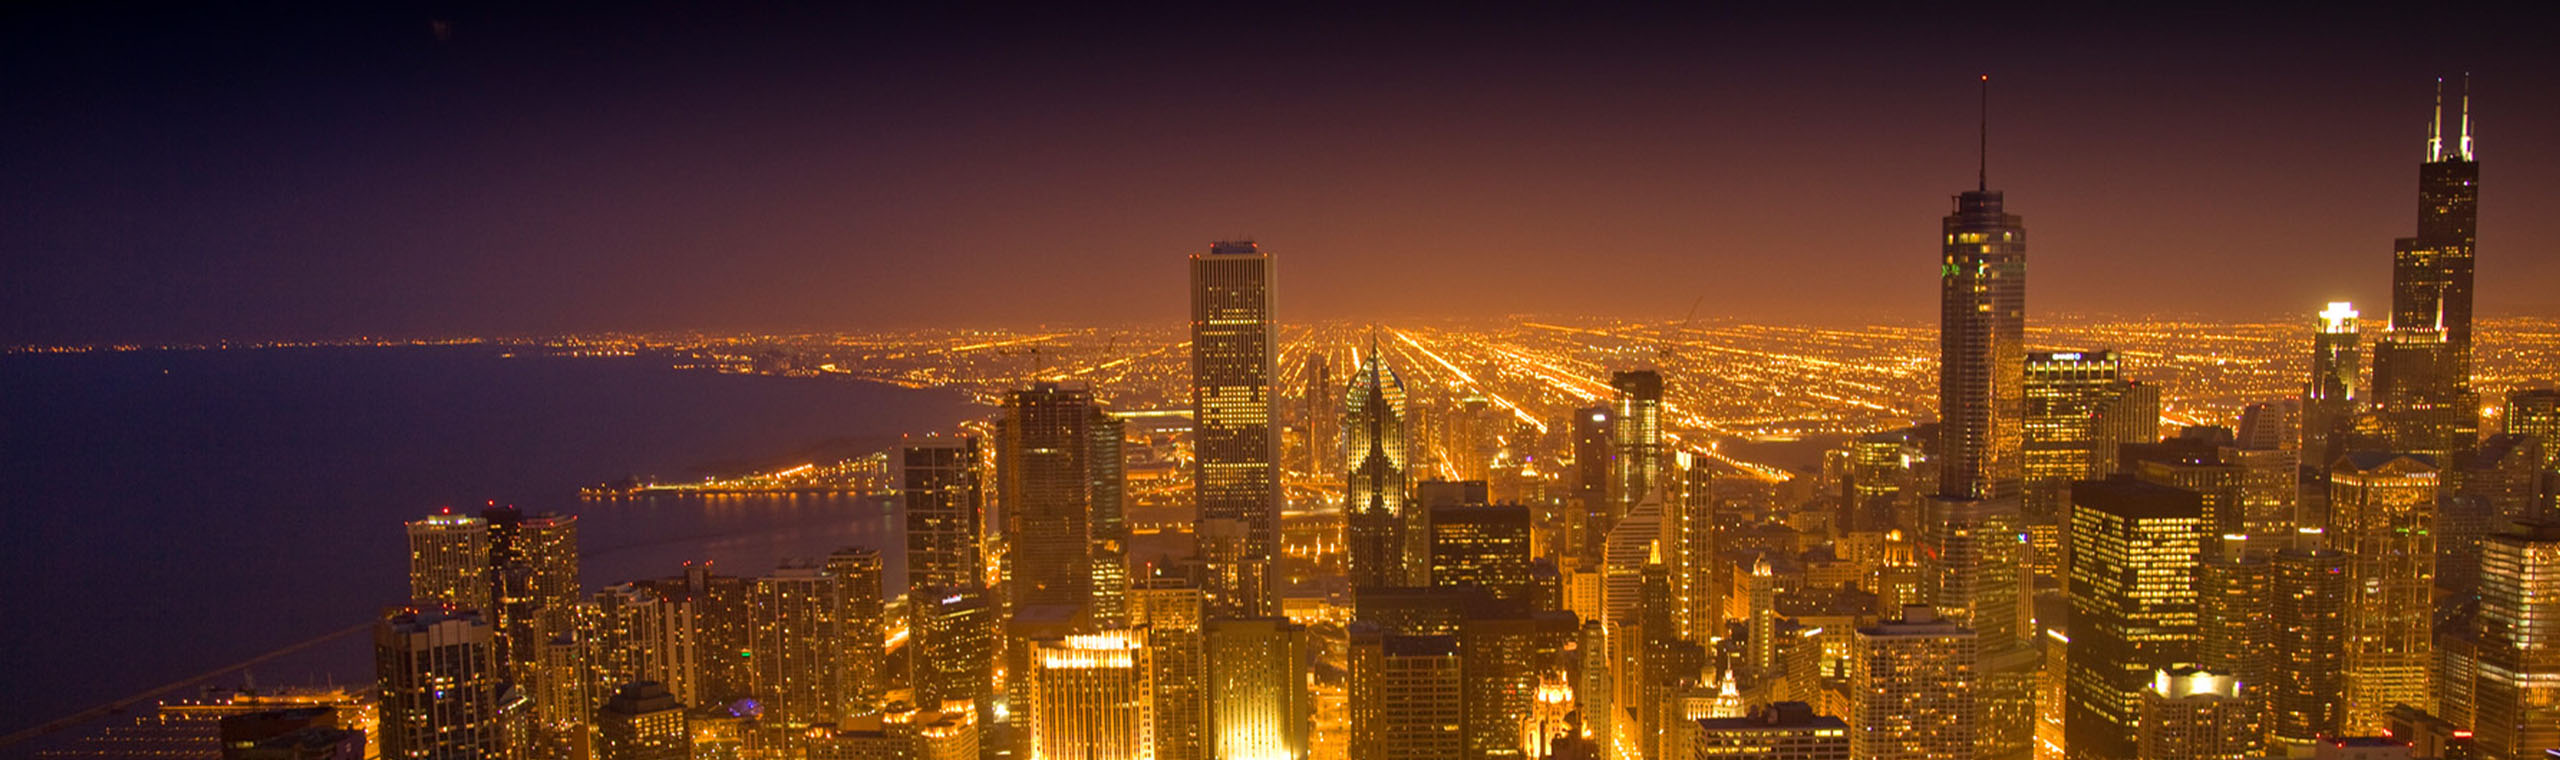
A handheld light meter gives you the option of reading a very small portion of a scene or subject. The spot metering function on Sekonic meters, for example, reads a narrow 1 degree. That means that if you have a subject like the cityscape I took in Prague (image 4), you can meter on the middle-toned area circled in red. This is a precise way of determining exposure and it removes all the guesswork. You don’t ever have to be insecure about exposure again when shooting at night.
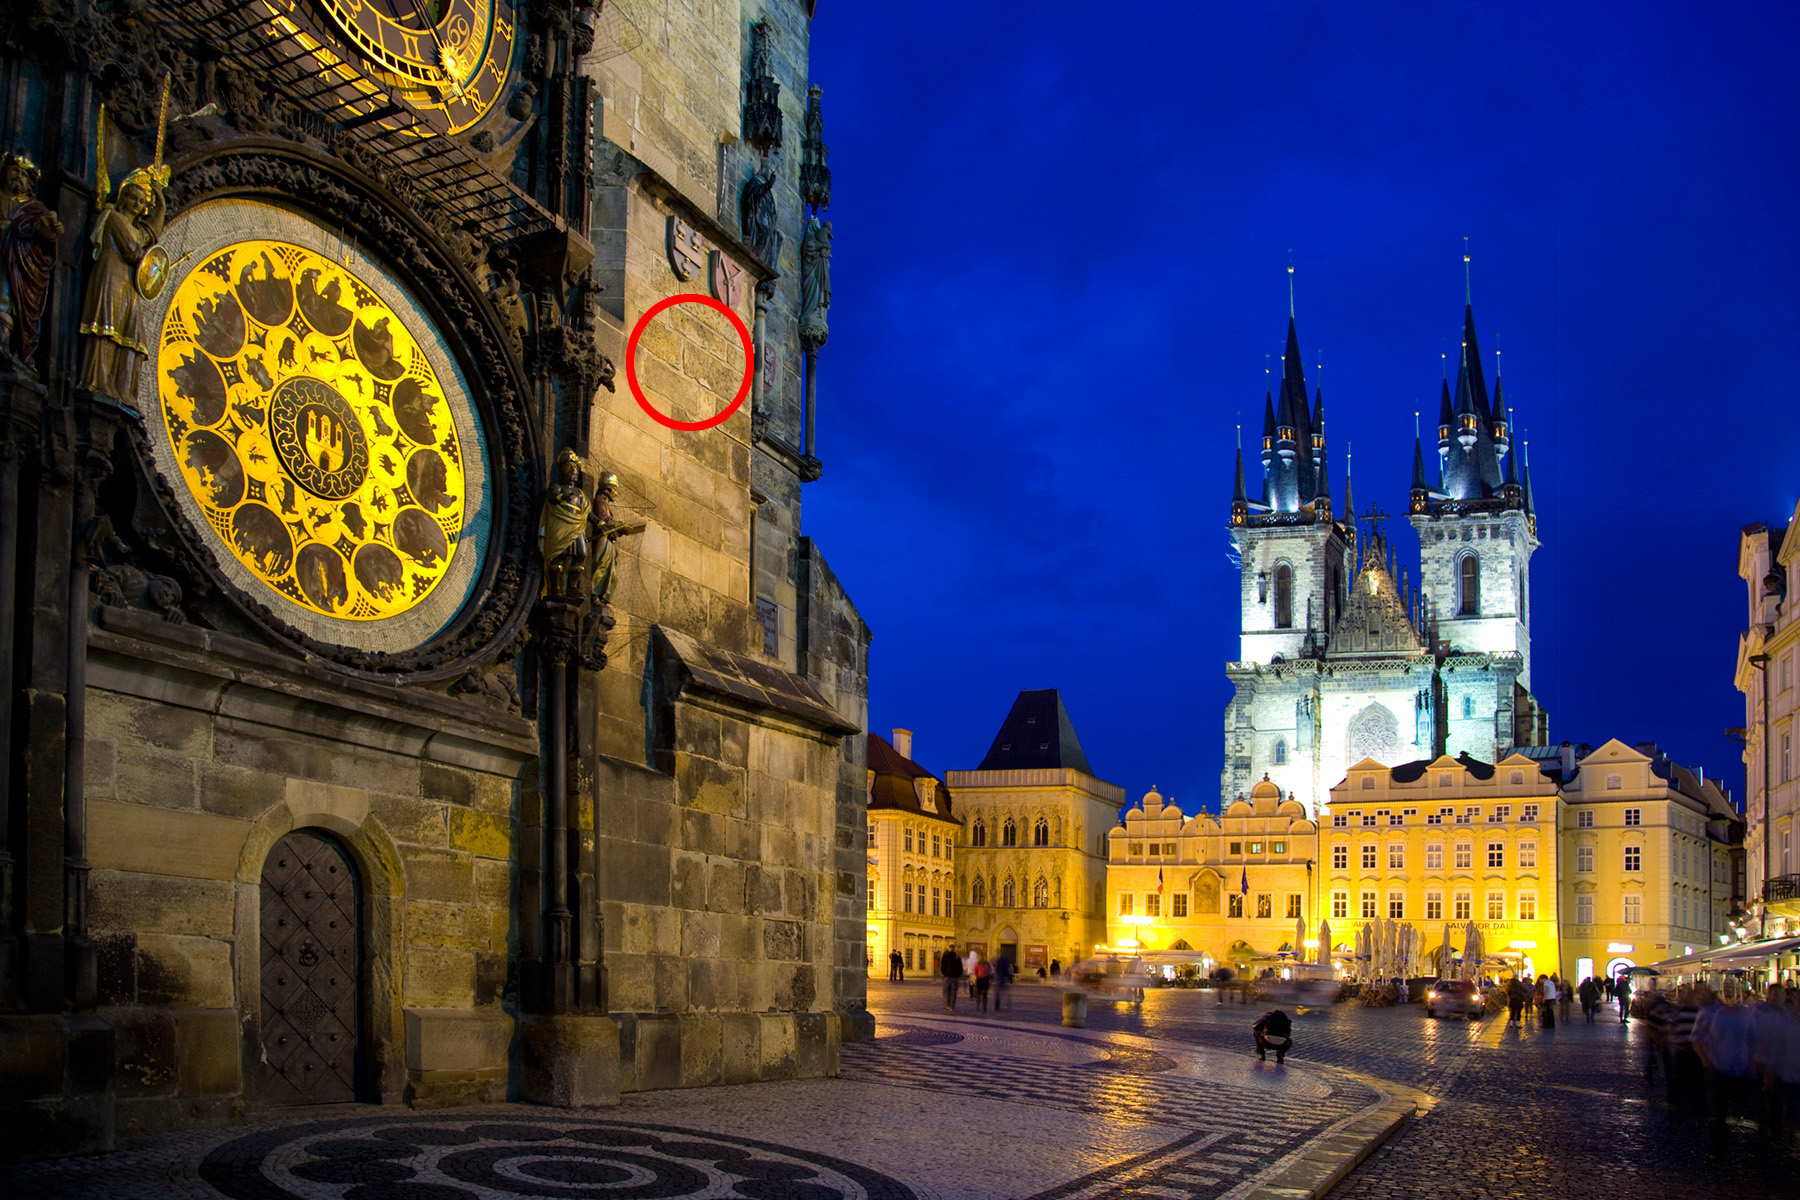
Image 4
One thing you need to understand about night photography is that it is usually not possible to avoid capturing blown-out areas in your images. Many photographers constantly consult the histogram as they shoot, and the one thing everyone looks for is a spike on the far right side of the graph. This indicates complete overexposure, meaning a loss of texture and detail in certain areas of the image. In figure A, you can see this spike. The elevated shot of Vernazza, Italy (image 5), is the photo that this histogram represents. You can see the brilliant highlights are blown out, but in this context that’s fine because it is very close to what I saw when I took the picture.
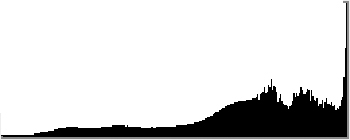
Figure A
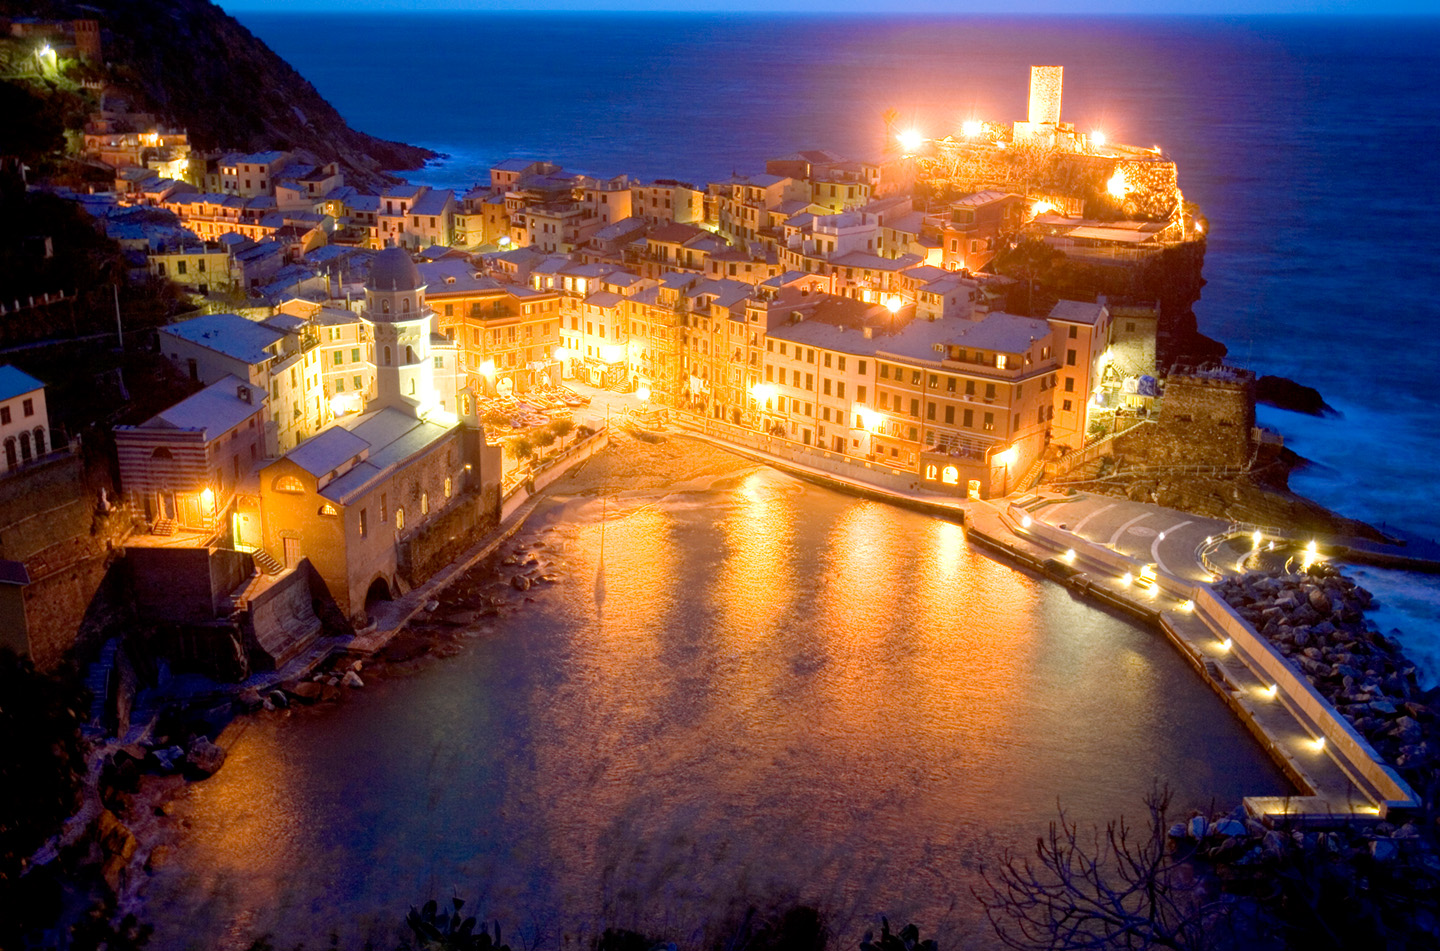
Image 5
At night, with brilliant headlights, street lamps, fluorescent fixtures, and other highlights included in your compositions, it is impossible to render them with detail while exposing for the darker areas of the composition. In fact, if you think about it, these specular highlights seem blown out when we look at them. This is especially true when our eyes have adjusted to the darkness of night. Most histograms of images taken at night will have spiking on the right side.
The technique I use to capture a perfect exposure when shooting at night is to select an area of the scene that I want to be middle toned. For example, in the picture of the famous Temple Bar in Dublin, image 6, I selected a portion of the red color on the bar itself. In the shot of the Arthur Ravenel Jr. Bridge in Charleston, South Carolina, image 7, I took the reading off the illuminated sidewalk. Once you establish the middle-toned area in a picture and take a reading from it, then all other parts of the image are exposed correctly.
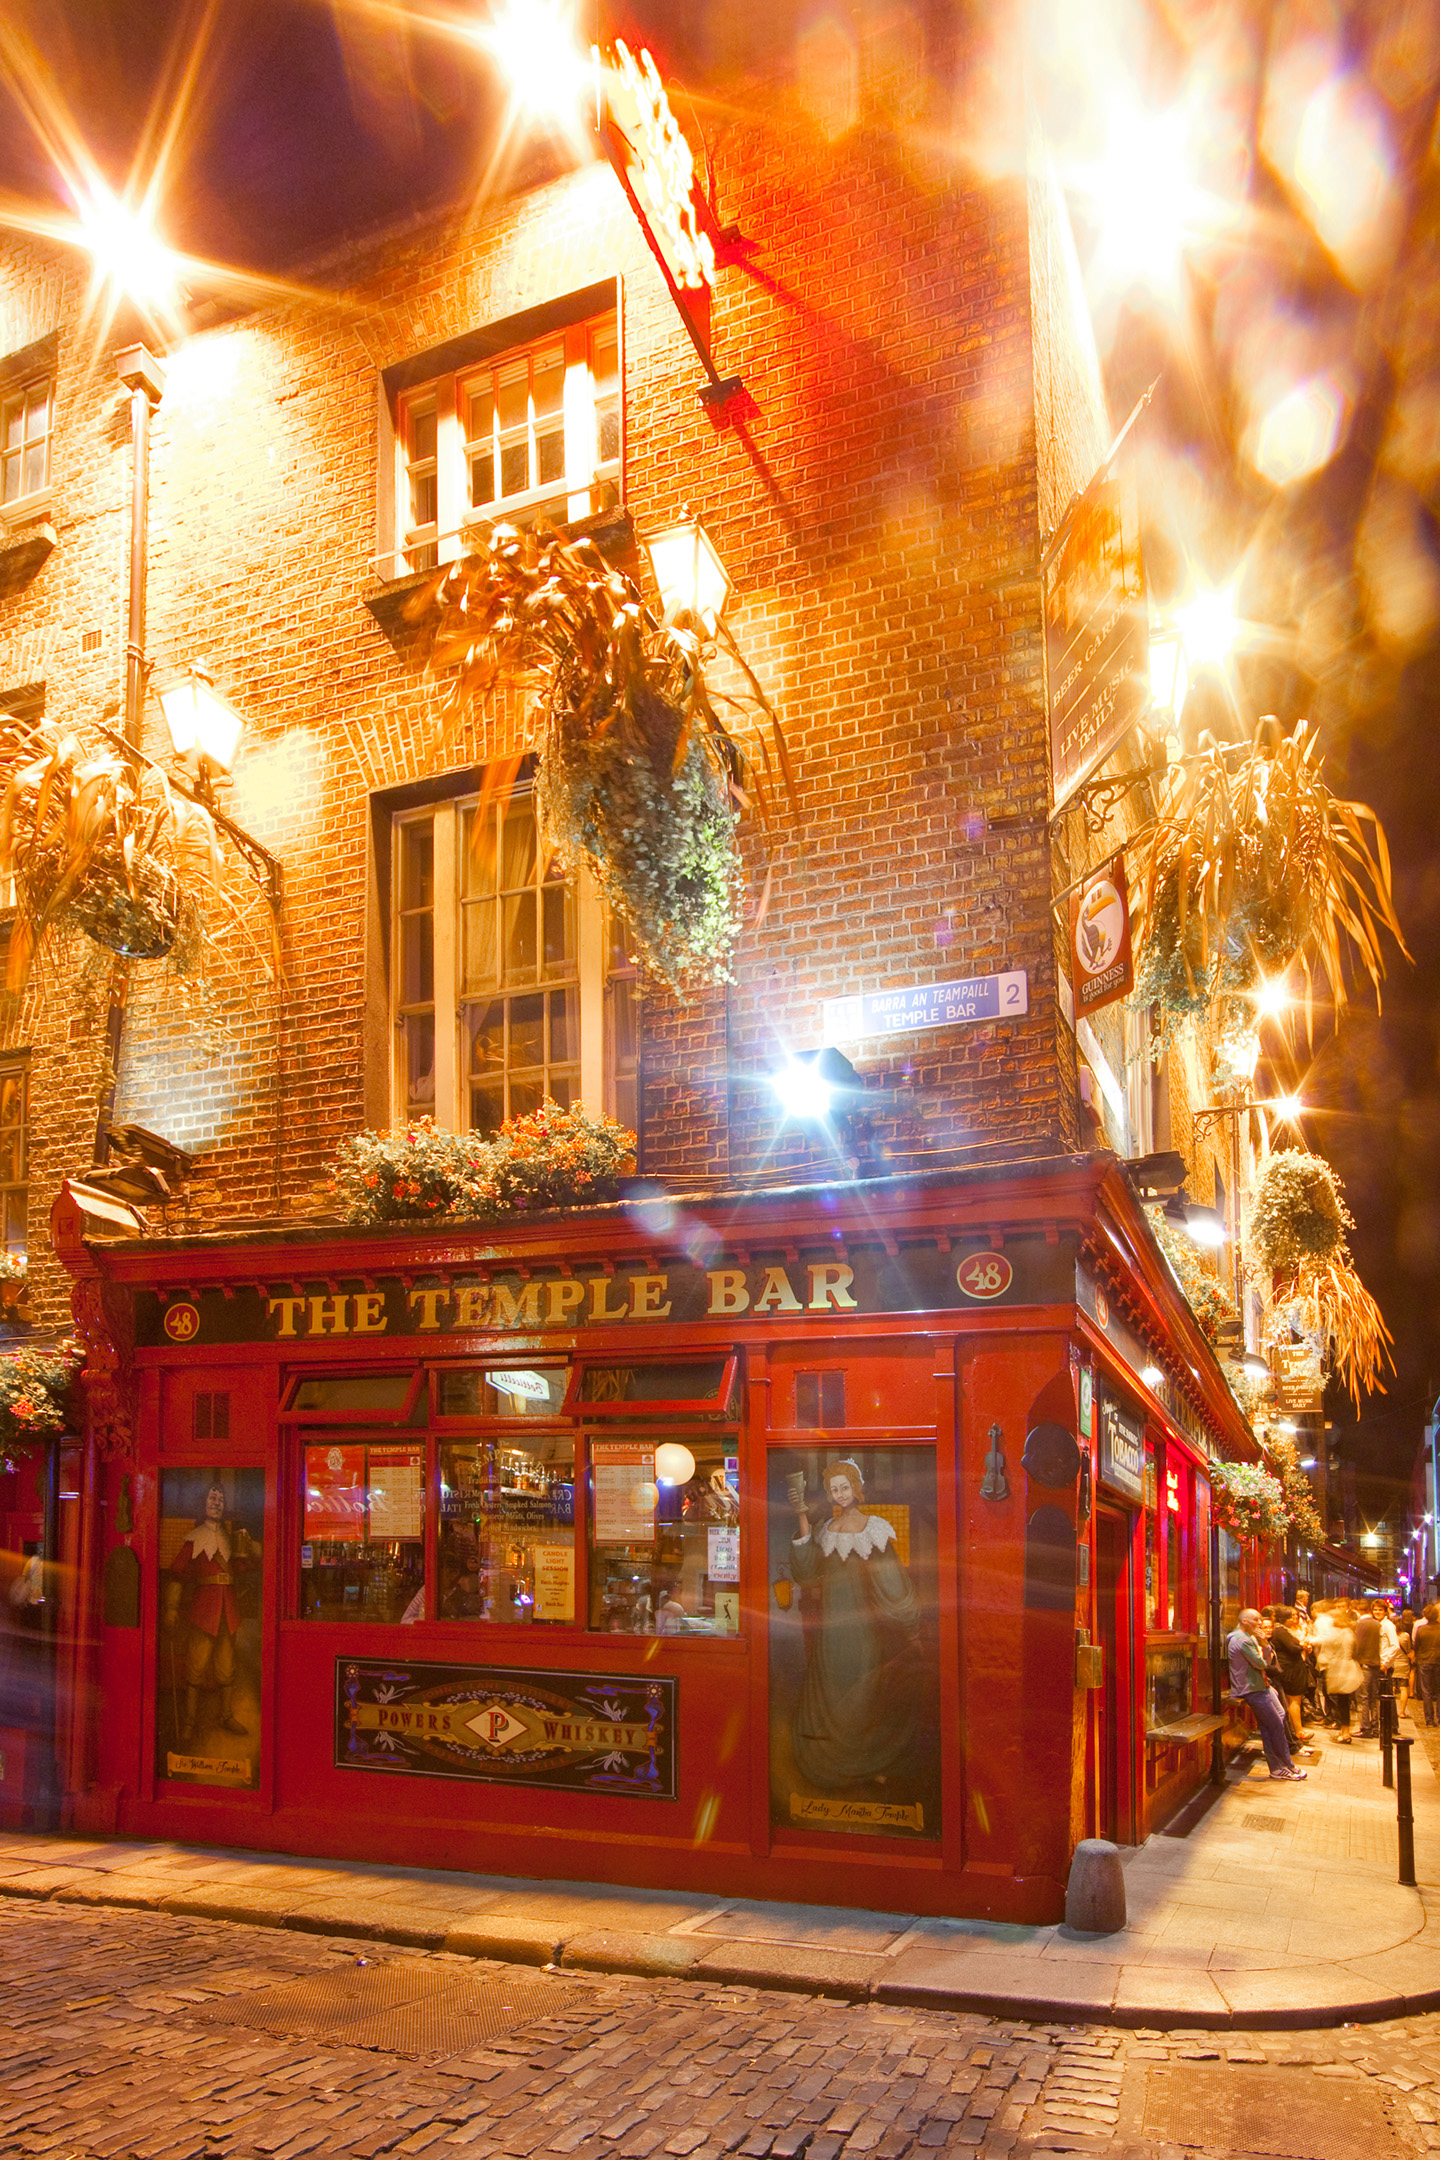
Image 6
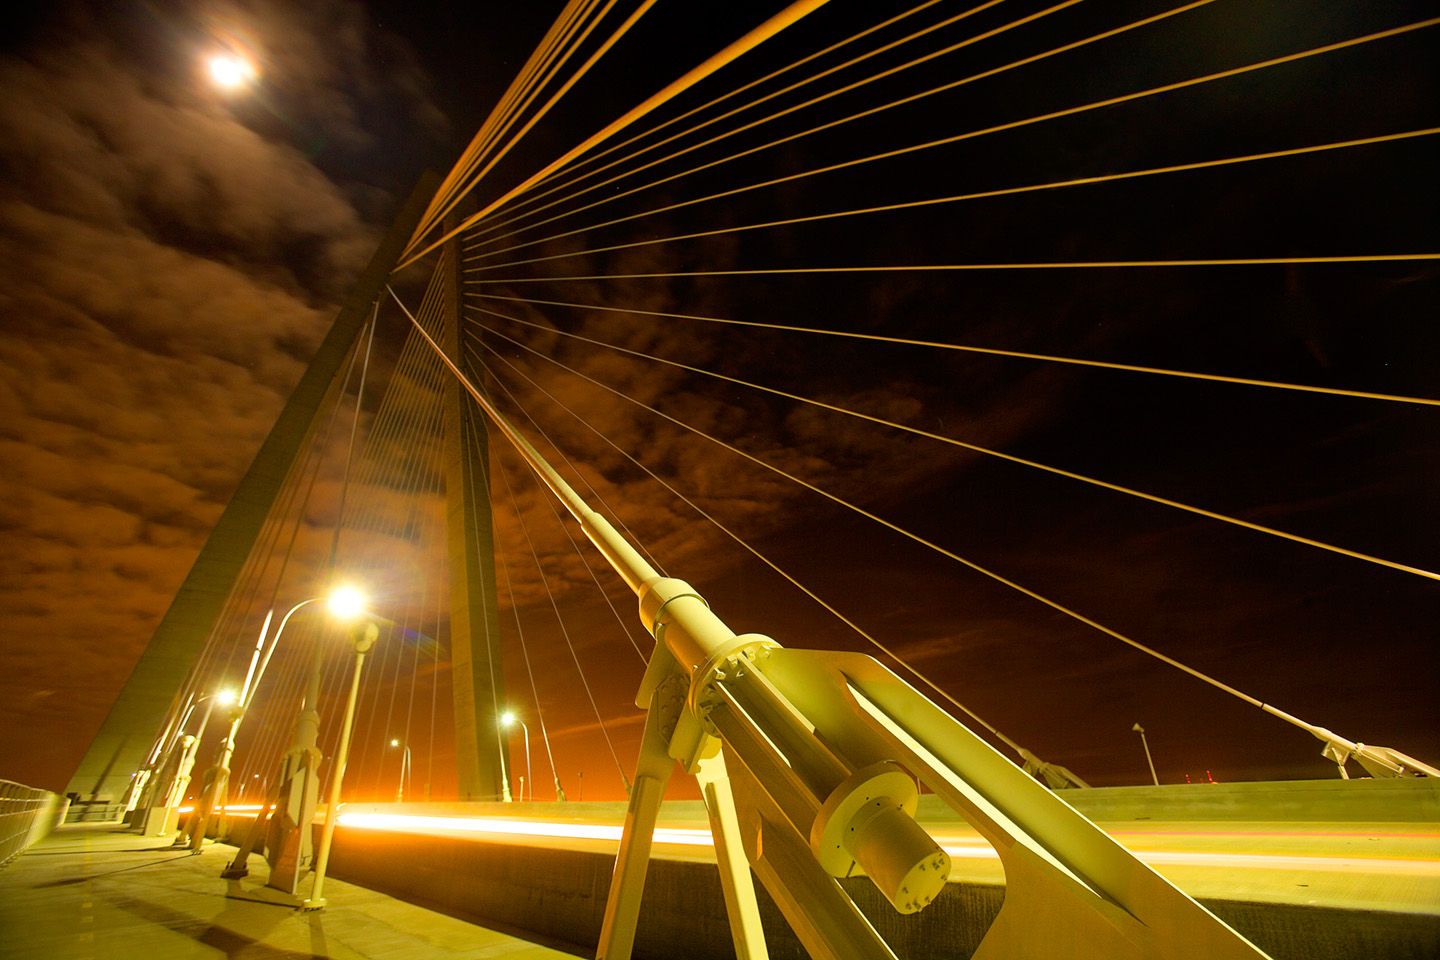
Image 7
Visit Jim online to see his work, online courses, photo workshops, photo tours, and more!
All text and images in this article are © Jim Zuckerman.