Lighting Ratios for Small Flash Photography

How do you control contrast and use light to shape your subject? Learn to apply lighting ratios with this excerpt from the Amherst Media book Bill Hurter's Small Flash Photography.
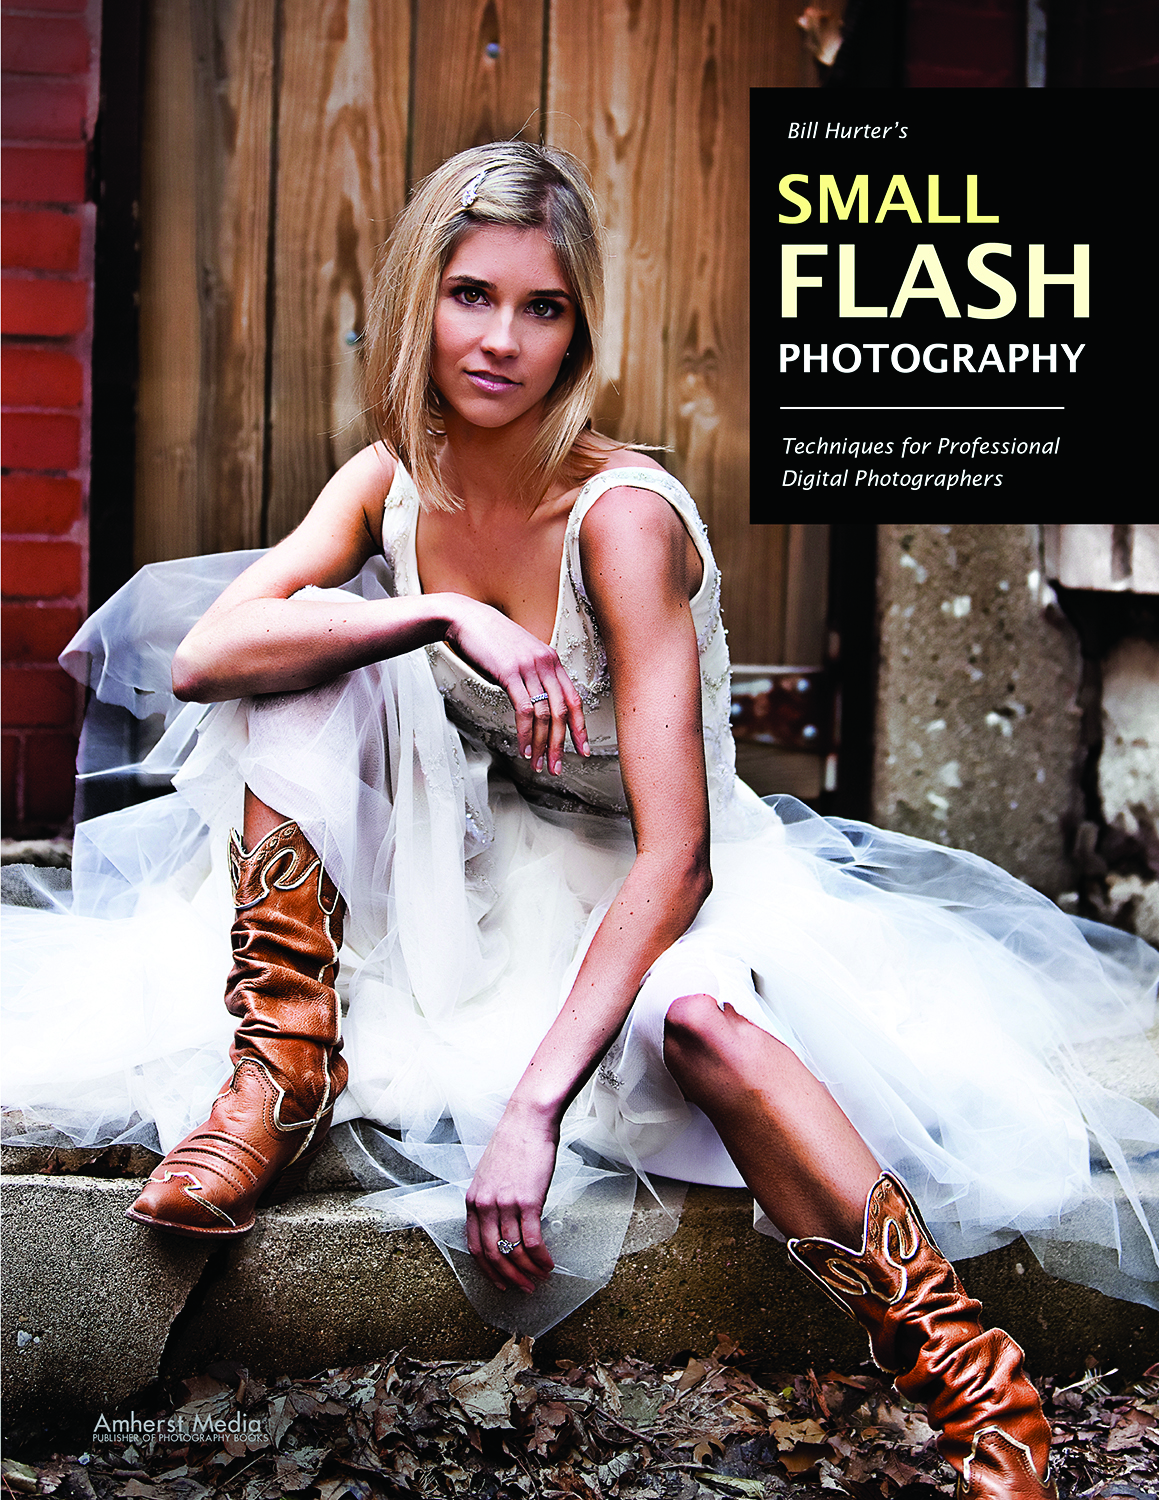
This excerpt from Bill Hurter's Small Flash Photography is provided courtesy of Amherst Media. To purchase the book and learn more about the publisher, visit the Amherst Media Web site.
The term is used to describe the difference in intensity between the shadow and highlight sides of the face. It is usually expressed numerically—3:1, for example, means that the highlight side of the face is three times brighter than the shadow side.
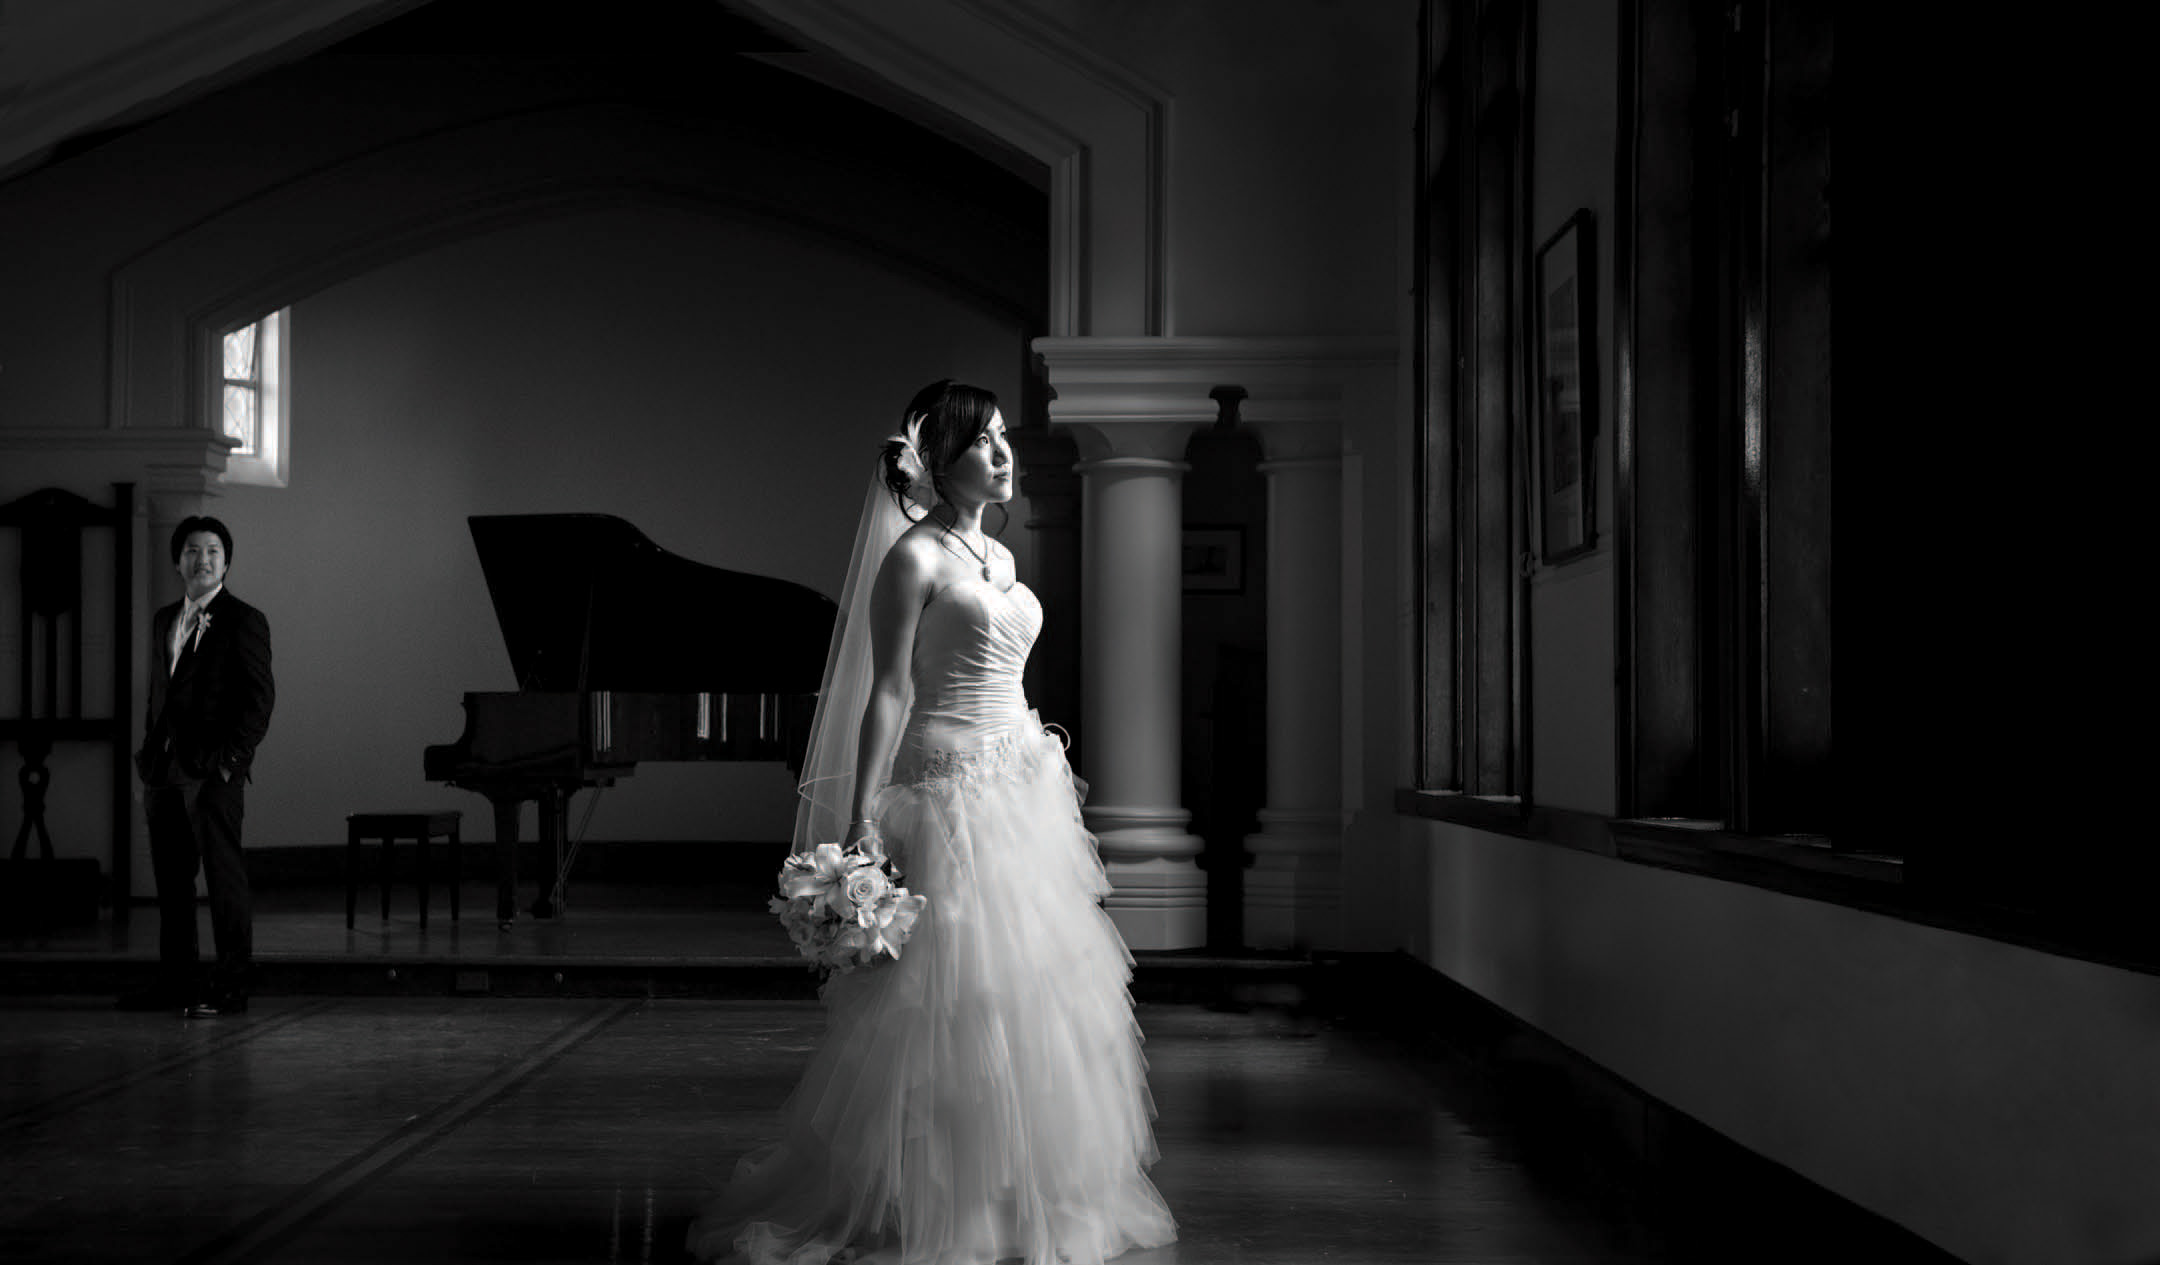
In this image by Marcus Bell you have two lighting ratios present. On the bride, there is a rather stealthy ratio of 4–5:1. This was caused by a single speedlight positioned in one of the window alcoves. No fill was used so the ratio is steep. Because of light scatter, the ratio on the groom is less than 4:1—although the light intensity has dwindled because of the distance from the flash.
Ratios are useful because they determine how much overall contrast there will be in the portrait. They do not determine the contrast of the scene (the subject’s clothing, the background, and the tone of the face determine that), but rather, lighting ratios determine how much contrast you will give to the lighting of the subject.
Ratios also determine how much the light will slim the face of the subject. The higher the lighting ratio (the greater the tonal difference between highlight and shadow side of the face), the thinner the subject’s face will appear.
Since lighting ratios reflect the difference in intensity between the fill light and the main light, the ratio is an indication of how much shadow detail you will have in the final portrait. Since the fill light controls the degree to which the shadows are illuminated, it is important to keep the lighting ratio fairly constant. A desirable ratio is roughly 3:1 because of the rather limited tonal latitude of photographic printing papers.
Ratios are determined by measuring the intensity of the fill light on both sides of the face with a light meter, and then measuring the intensity of the main-light side of the face. If the fill light is next to the camera, it will cast one unit of light on each side (shadow and highlight sides) of the face. The main light, however, only illuminates the highlight side of the face, not the shadows it creates. If the main light is the same intensity as the fill light, then you have a 2:1 lighting ratio. (One unit of light on each side of the face from the fill light, and one unit of light on the highlight side only from the main light, means that the light on the highlight side of the face is twice as bright as on the shadow side; thus a 2:1 ratio.)
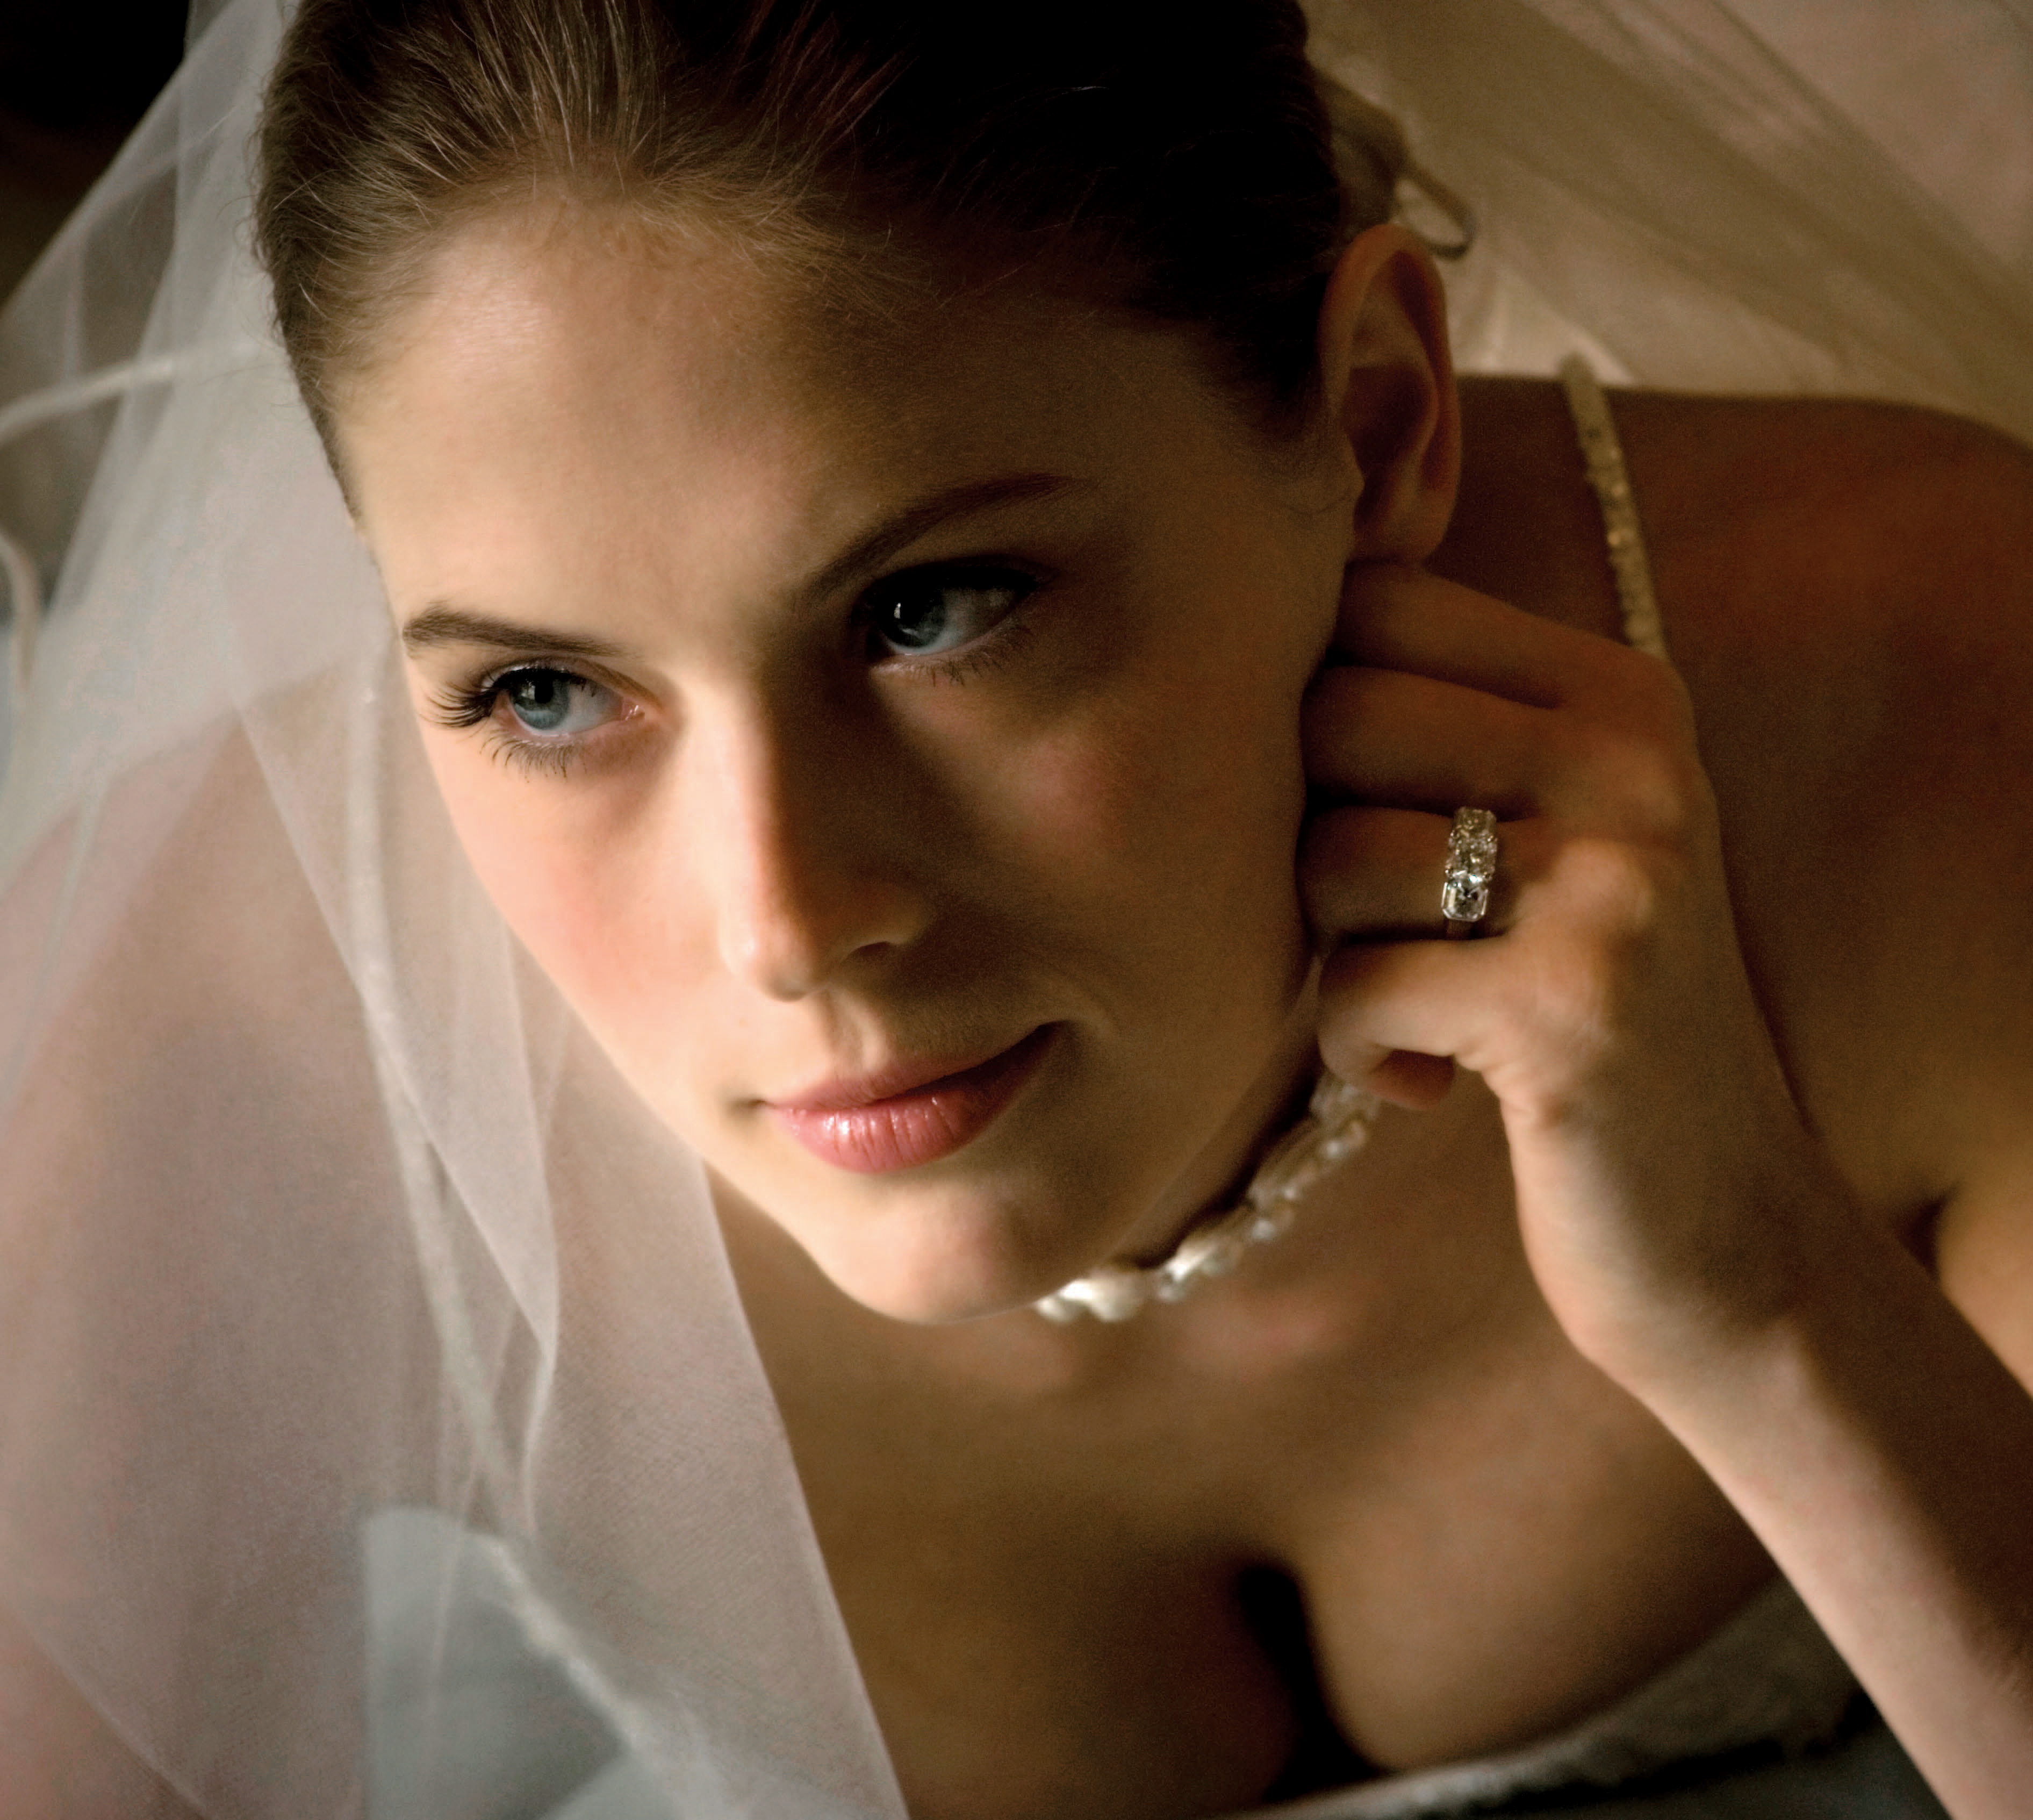
A 1:1 lighting ratio almost never occurs, but this is a good example of an image with little discernible difference in intensity between the shadows and the highlights on the subject. This ratio is probably closer to a 1.5:1 lighting ratio. Photograph by Dennis Orchard.
A 2:1 ratio is the lowest lighting ratio you should employ. It shows only minimal roundness in the face and is most desirable for high-key effects. High-key portraits are those with low lighting ratios, light tones, and usually a white background.
A 3:1 lighting ratio is produced when the main light is one stop greater in intensity than the fill light. (One unit of light on both sides of the face from the fill light, two units of light on the highlight side from the main light; thus a 3:1 ratio.) This ratio is the one that is most preferred for color and black-and-white portraiture because it will yield an exposure with excellent shadow and highlight detail. It shows good roundness in the face and is ideal for rendering average faces.
A high lighting ratio, like this one in the 4:1 to 5:1 range, creates drama by virtue of the contrast between the highlights and the shadows. This strong ratio was created by the side light and minimal fill. Photograph by Cherie Steinberg-Coté.
A 4:1 ratio (the main light is two stops greater in intensity than the fill light) is used when a slimming or dramatic effect is desired. In a 4:1 ratio, the shadow side of the face loses its slight glow and the accent of the portrait becomes the highlights. Ratios of 4:1 and higher are considered low-key portraits. Low-key portraits are often characterized by a higher lighting ratio, dark tones, and usually a dark background.
A 5:1 ratio (the main light is 3 stops greater than the fill light) and beyond is considered almost a high-contrast rendition. It is ideal for conveying a dramatic effect to your subject and is often used in character studies. Shadow detail is minimal at the higher ratios and as a result, they are not recommended for color films unless your only concern is highlight detail.
Setting the Lights
Most photographers have their own procedures for setting the portrait lights. You will develop your own system as you gain experience, but here is one plan you can start with. Generally, the first light you should set is the background light (if you’re using one). This is done by placing the light behind the subject and illuminating the part of the background you want lighted.
Usually the background light is slightly hotter (brighter) in areas that are very close to the subject and fades gradually darker the farther out from the subject you look. If you have more space in front of than behind the subject in the composition of the image, the light should be brighter behind the subject than in front as seen from the camera. This helps increase the sense of direction in the portrait. The background light is usually set up and tested first, before the other lights.
Next, the hair light (if using one) is set. This is set up so that you can see if any stray light is falling onto the subject’s face. If this happens, adjust the light until it illuminates only the subject’s hair. When photographing men, sometimes the hair light can double as a kicker, illuminating the hair and one side of the forehead or cheek simultaneously. (Note: When using multiple small flash units in a network, the easiest way to extinguish the frontal lights is to turn them off.)
Then, the fill light is set. Usually it is used next to the camera. Adjust it for the amount of shadow detail you want to achieve. Examine the subject’s face with only the fill light firing and determine if the skin looks oily or flat. Sometimes you will have to use a pancake base makeup to dry up excessively moist skin if adjusting the fill light won’t correct the problem. If the skin looks too matte and lifeless, increase the amount of fill.
Finally, adjust the main light for the lighting pattern you desire. Move it closer or farther from the subject to determine the ratio you want. Ratios are best metered by holding an incident light meter first in front of the shadow side of the face, and then in front of the highlight side, in each case pointing the meter directly at the light source. By determining how many stops of difference there are between your lights, you will know the ratio.
The ratio between the main light and the fill light is not as crucial as you might think. If there is abundant detail in the shadows and highlights, you are in the ballpark.

Dan Doke made this striking image at the New England Aquarium, where the wedding was held. His Canon 1Ds Mark II was tripod-mounted and the exposure was for 2 seconds at between f/4 and f/5.6. Two Quantum flash units were used with Freewire slaves. Dan’s assistant held the second Quantum flash in an umbrella and feathered it 45 degrees to the right. The image was edited in Adobe Lightroom.
Overlighting
In setting the lights, it is important that you position the lights gradually, studying their effects as you use more and more light aimed at the subject. If you merely point the light directly at the subject, you will probably overlight the person, producing pasty highlights with no detail.
Adjust the lights carefully, and observe the effects from the camera position. Instead of aiming the light so that the core of light strikes the subject, feather the light so that you employ the edge of the light to light the subject.
The trick is to add brilliance to your highlights. This is achieved by the use of careful lighting. The highlights, when brilliant, have minute specular (pure white) highlights within the main highlight. This further enhances the illusion of great depth in a portrait.
Sometimes, feathering won’t make the skin “pop” (show highlight brilliance) and you’ll have to make a lateral adjustment to the light or move it back from its current position.
Vignettes
Sometimes, because of the nature of the lighting, it is difficult to keep light off of certain parts of the portrait. An example of this is hands that receive too much light and gain dominance in the photograph. One solution is to use a vignette, an effect that can be applied in Adobe Camera Raw, Photoshop, or Lightroom. You can completely mask out unwanted foreground or background lighting with a vignette.
A well-placed vignette draws the eye in from the perimeter of the print and forces the viewer to focus on the subject. This is expertly done by master photographer Jim Garner.