Light Placement
In this excerpt from his Amherst Media book Lighting Techniques for Photographing Model Portfolios, Billy Pegram shows how to bring out a model's beauty, change the tone of a shot, and play up specific physical features.
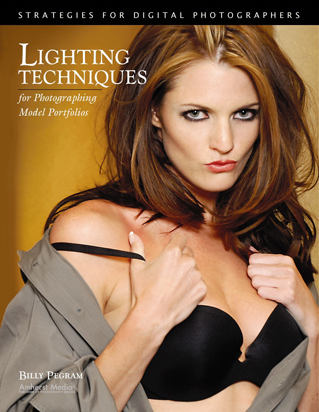
This excerpt from Lighting Techniques for Photographing Model Portfolios is provided courtesy of Amherst Media. To purchase the book and learn more about the publisher, visit the Amherst Media Web site.
Objectives
When lighting a model, you must make many decisions. Often, your objectives will be dictated by the model or the client. A model may want an image that showcases her facial beauty, one that highlights her long legs, a shot that shows her potential as a swimsuit model, or one that displays her edgy, high-fashion look. A client may want soft beauty images that show the flawless look produced by their new line of makeup, or a harder image that displays the design and texture of their urban-wear collection. Whatever the objectives, it is your job to bring those abstract ideas to life. A large part of how you will do this is through the use of lighting—through the placement of lights (the subject of this chapter), the selection of light sources (see chapter 4), and the use of light modifiers (see chapter 5).
Main Light
When designing a lighting scheme for a model, one must first consider the mask of the face (the frontal planes of the face, including the forehead, eyes, nose, cheeks, and lips). The light that creates the principal pattern of light and shadow on this area is called the main light.
We’ve already looked at some of the basics of the direction of light (see pages 35–39), but this is where those concepts really come into play. Unless you are creating a silhouette, your main light will be placed to strike the front of the subject. But should it be placed directly in front of the subject? Or at an angle? And if it’s at an angle, what’s the right angle?
The answers depend on the look you’re trying to create. Placing the main light directly in front of the model creates a smooth, almost shadowless look that is often seen in beauty photography. However, it can also flatten the features—and it isn’t ideal for showing the texture of the model’s clothing. Placing the main light at an angle is better for revealing the contours of the model’s face and can create a look with more dramatic impact. However, while it brings out the texture of the model’s garment (which may be a plus, depending on the image), it also brings out any imperfections in the skin (which may be a negative, depending on the model and the image). The more the main light moves to the side of the subject, the greater the contouring it will provide, and the more it will tend to emphasize the textures in the image.
3-1. Placing the main light more to the side of the subject creates facial contouring and adds drama to the image.

3-2. Placing the main light in front of the subject creates almost shadowless lighting—a style often seen in beauty photography.
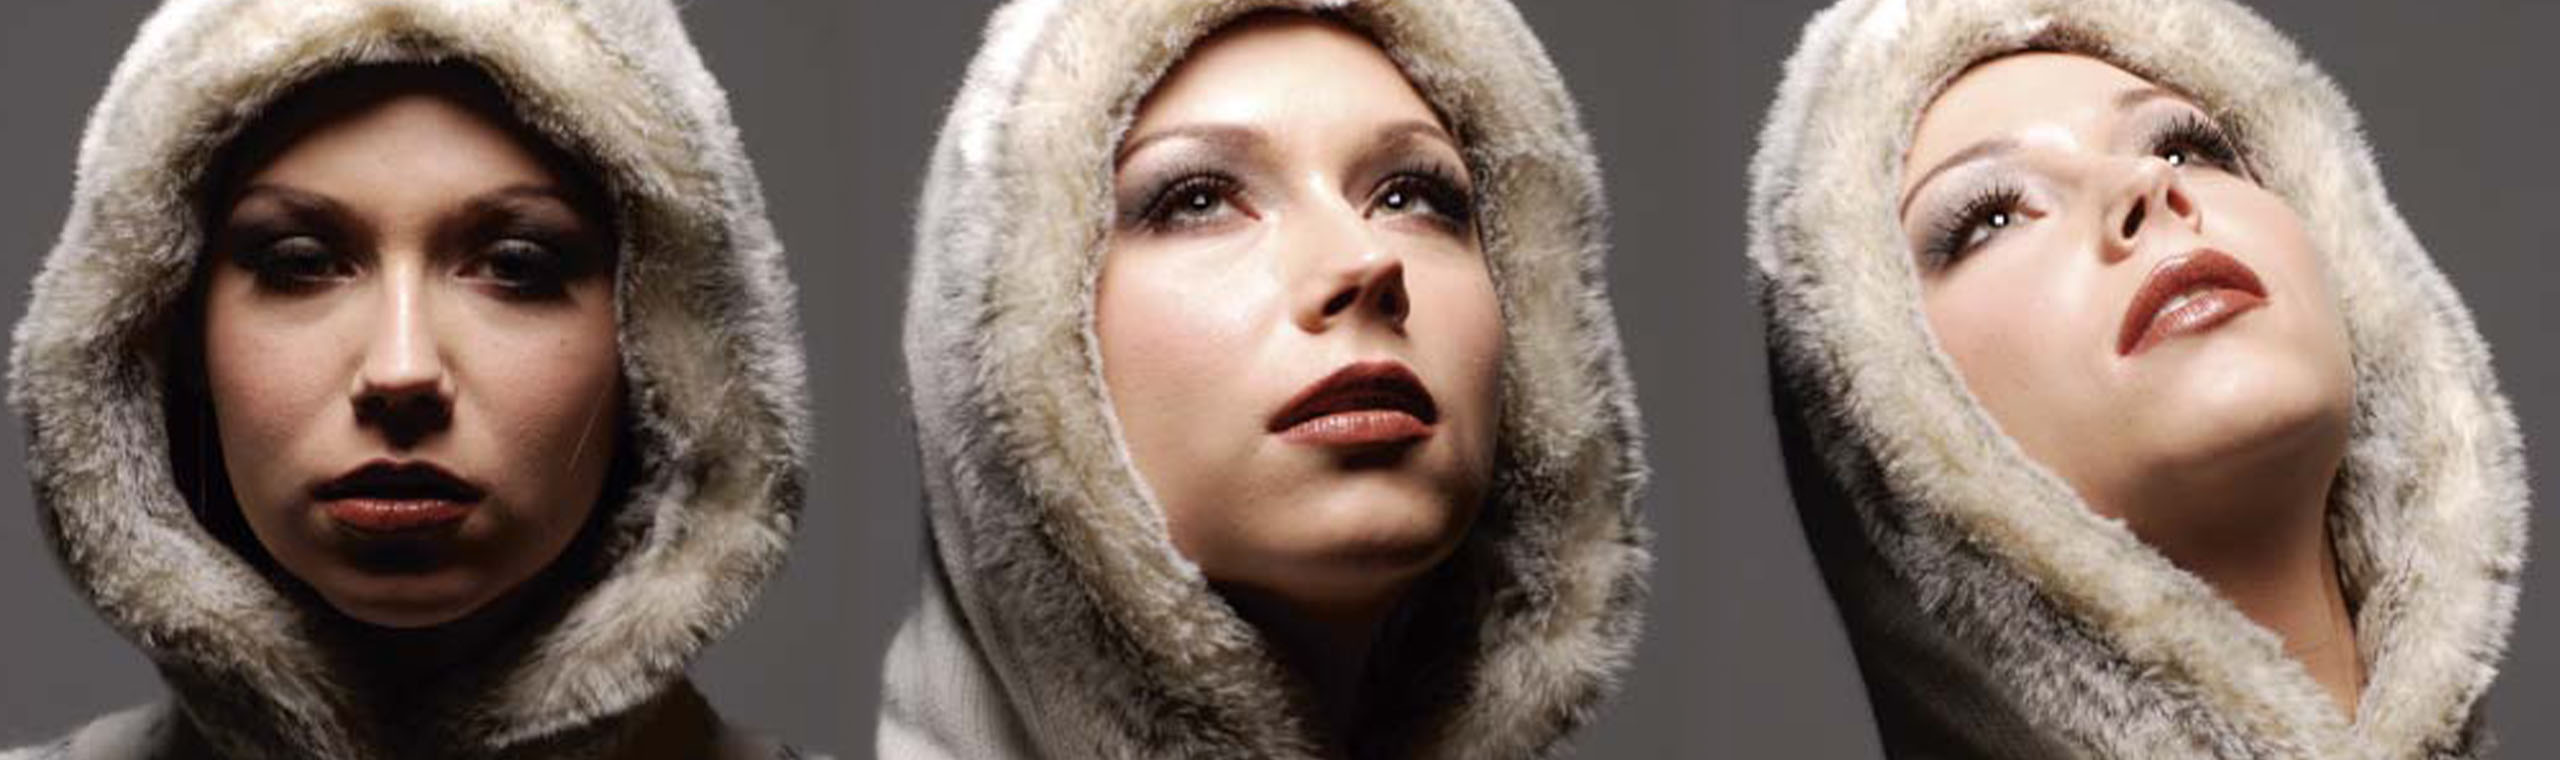
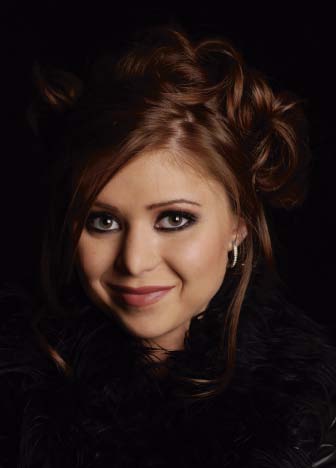
Practical Example: Lighting the Mask of the Face. In the following examples (images 3-3, 3-4, 3-5, 3-6, and 3-7), you can see that when the light is too high or at the wrong angle, the results are very unflattering. Simply by having the model lift her face to the main light, notice how flawless her skin becomes. If you flood the face with soft, even light, it beautifies the skin tone and minimizes facial flaws. The light fills in the hollows of the eyes and all the facial creases, creating a much more desirable image. (Note: Using a drape, such as a fur hood, helps frame the face. When using a drape with texture, though, be careful not to overlight it; you will lose the detail. The challenge is to light the model’s face, but leave texture in the drape or garment. This is why I chose a single light source for image 3-7. The light filled in the model’s face, but did not spill over to the sides, leaving detail in the hood.)
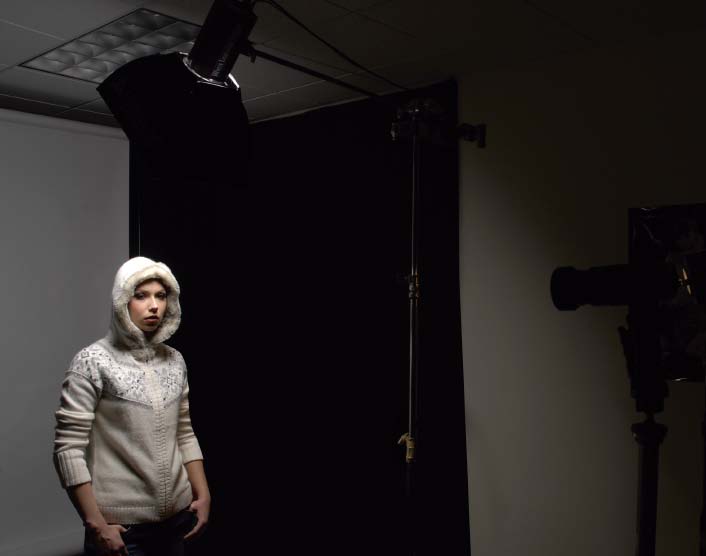
3-3. The lighting setup for this shot. The main light (a small softbox; see chapter 5) was placed at an angle above the model and remained in the same position throughout the series. Only the position of the model’s face in relation to this light was changed.
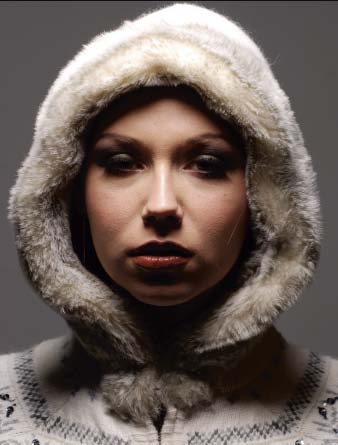
3-4. With the model looking at the camera, the main light is too high in relation to her face. It creates very unattractive shadows.
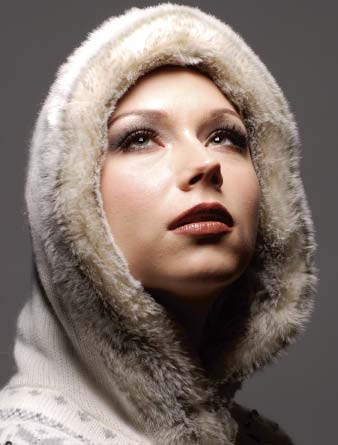
3-5. Having the model lift her chin helps, but now the main light is a bit too far to the side. It still creates some unattractive shadows.
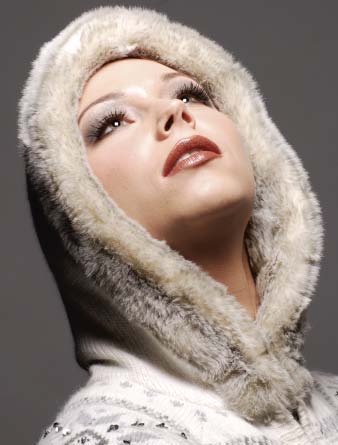
3-6. With the model’s face lifted directly toward the main light, the lighting on the mask of her face becomes more even and much more beautiful.
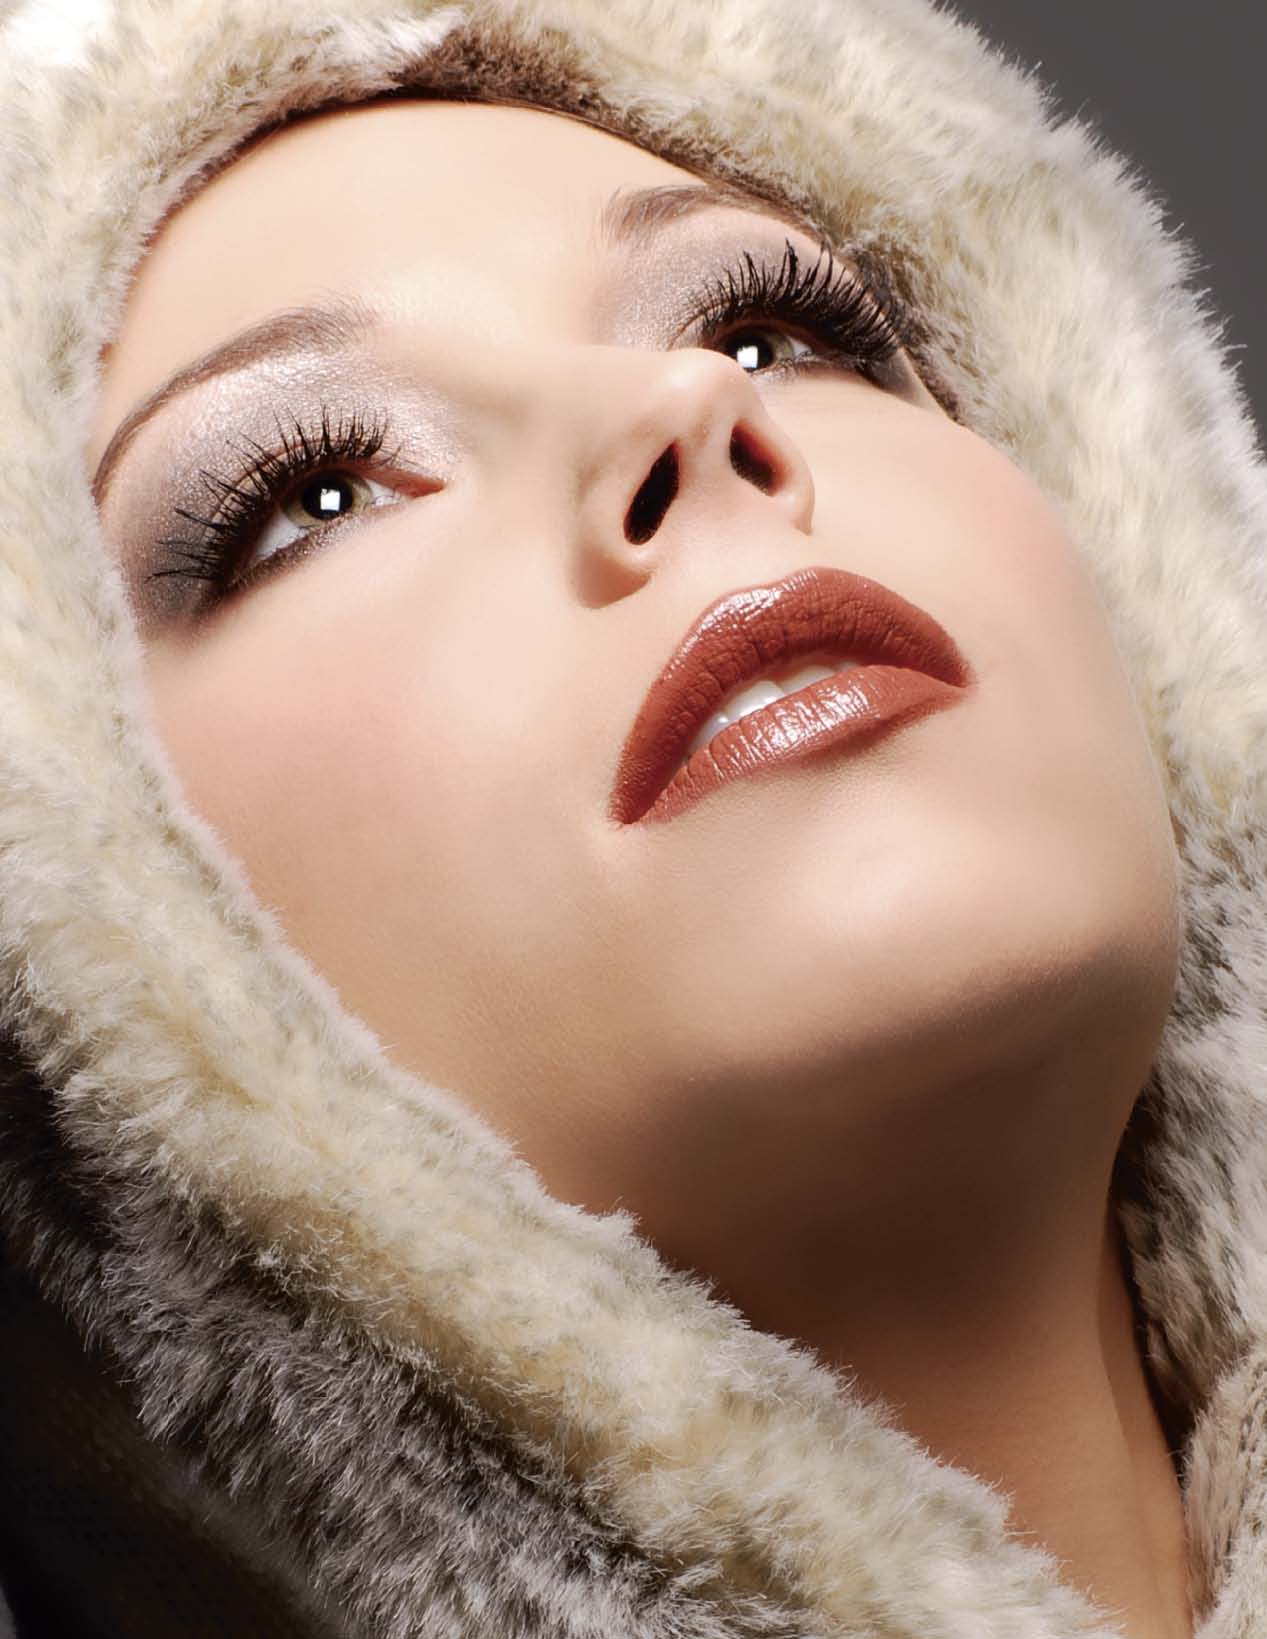
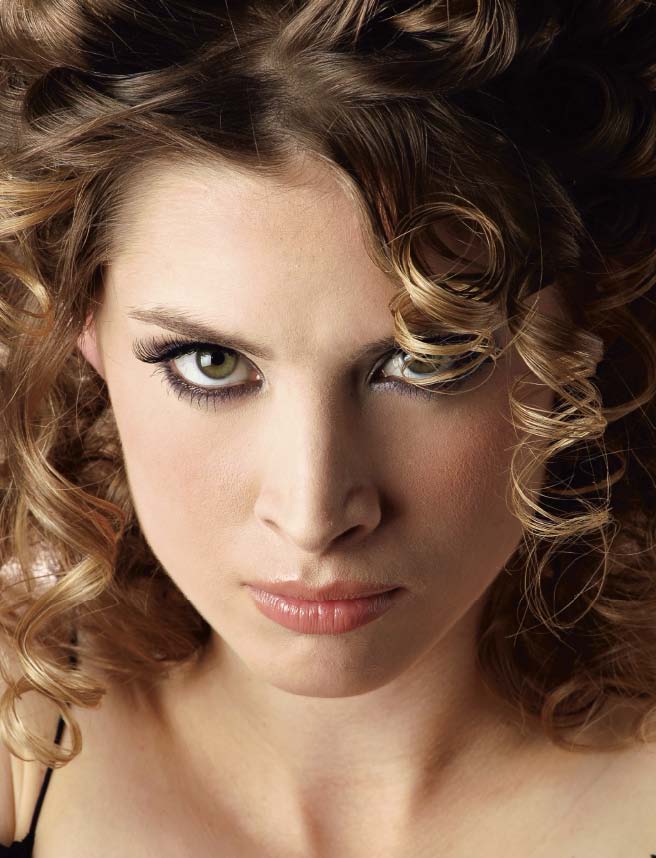
3-7. This is the final cropped version of the image. As you can see, great lighting doesn’t require a lot of equipment—you can use just one light if you know how to use it effectively!
3-8, 3-9. In these images, the hair light adds shine on the model’s hair and helps separate her from the background.
Fill Light
The fill light is a secondary light source used to lighten the shadows created by the main light. This is normally placed close to the camera to avoid creating a second set of shadows on the face, which would look unnatural. Fill light can be be created using any light source (electronic flash, studio lights, etc.), but creating fill light with a reflector is also very popular because the results are easy to control. For some examples of creating fill light with reflectors, see pages 70–71. To see fill light created with electronic flash, see page 65. When adding a fill-light source to your setup, be aware that this source can create a second catchlight in the model’s eyes. If this is objectionable to you, you’ll need to remove it in Photoshop.
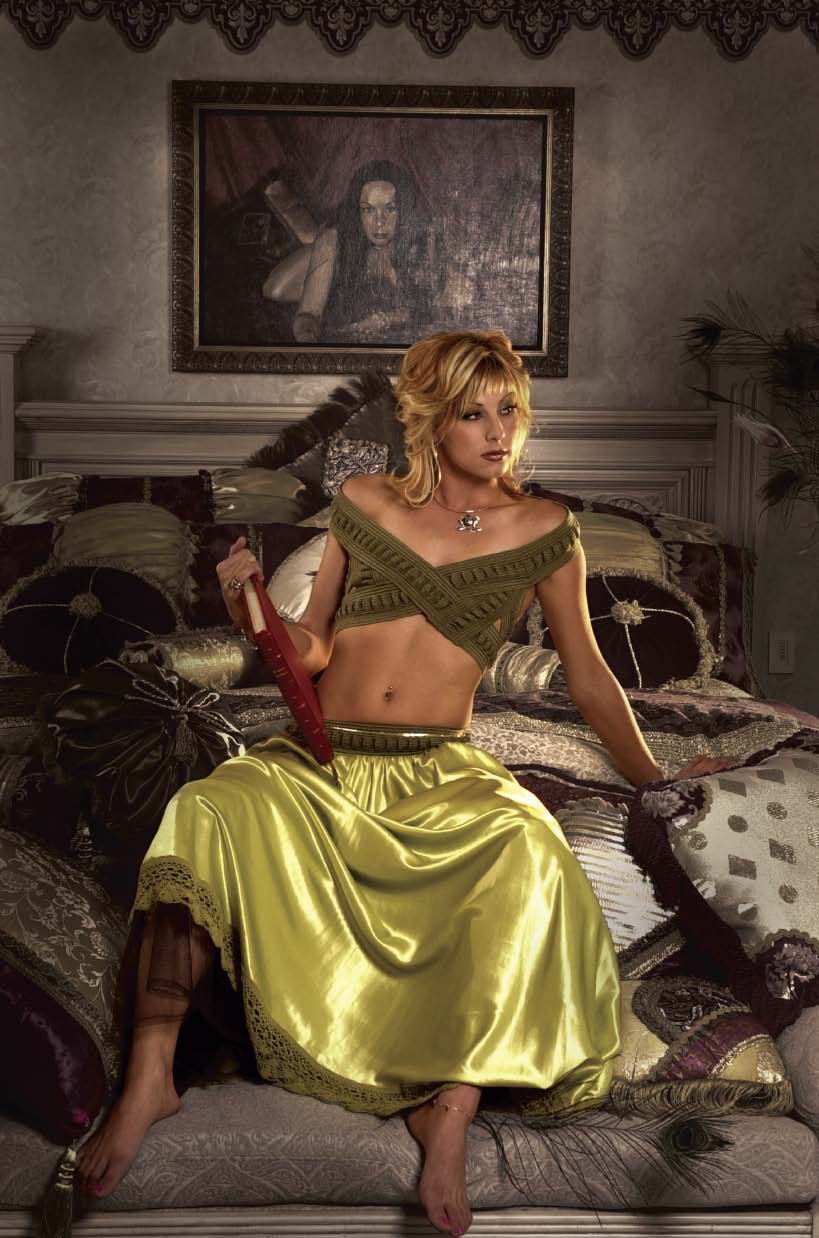
3-10. Notice the highlight that runs the length of the model’s left arm. These are the kinds of highlights that can be created using accent lights.
Hair Light
The hair light is a light, usually a small one, that is placed above and slightly behind the model to add highlights on the hair and help separate her from the background. This light must be carefully controlled so that it does not spill onto the model’s face or shine directly into the camera lens, causing contrastdegrading flare. See images 3-8 and 3-9 (above) for an example.
Background Light(s)
The background light, as the name implies, is used to illuminate the background so that the subject will stand out from it.When using one background light, it is usually placed on a small stand directly behind the subject (blocked from the view of the camera). In other setups—especially when the background needs to be evenly lit—a pair of flanking background lights are used, directed at the background from either side of the set.
Accent Light(s)
Accent lights, also called kickers, are extra lights used to add highlights to the sides of the face or body (see image 3-10). This helps draw the eye where you want it and adds a greater feeling of depth in the image. These lights are placed behind and to the side(s) of the subject, so they catch just the edge of the subject and create brilliant highlights. As with any backlighting source, you need to be careful not to create lens flare when adding accent lights.
Lighting in the Studio
The following image series shows both the separate and the combined effect of the individual studio lights. This is only a sample setup; you will develop your own methods and style as you shoot. If you want to learn quickly, shoot your own series of photos with the various lights firing alone. This is a great way to learn about the qualities and purpose of each light, as well as the proper placement of each.
In image 3-11(below), a barebulb studio strobe was placed as close to the background as possible. (Be careful: this can cause seamless paper to catch fire!) This light is difficult to meter so expect some trial and error to be involved in getting the correct exposure (here, a reading on the wall about two feet from the strobe was f/32). A gel (see page 83) was also taped around the flash tube to create a warm coloration. Because of the heat produced when firing the flash, you should not place anything directly in contact with the flash tube. Buy only heat-resistant gels from a camera store or theatrical supply house. This method of lighting the background can be used on a flat wall or seamless paper, but I prefer a little more detail to break up the background—as you can see in this image.
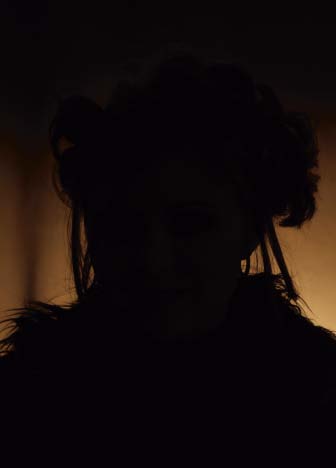
3-11. This image was created with only the background light on.
For the next image (3-12), only the hair light was fired. This was a parabolic (see page 76) placed above and slightly behind the model on a boom arm. Like the background light, it had a warming filter attached. The hair light exposure was f/16. You can see how this light adds highlights to the model’s hair, and even to her shoulders, but does not spill down onto her face.
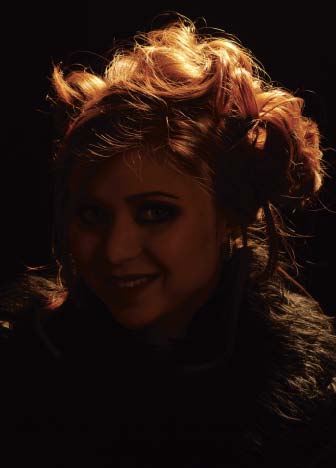
3-12. This image was created with only the hair light on.
In image 3-13, you see the effect of firing only the fill flash. This was a softbox placed to camera left and metered at f/8.
3-13. This image was created with only the fill light on.
Image 3-14 shows the effect of the main light alone. This was a softbox placed to camera right and set at f/11. I chose to place the light on this side of the model because, in some poses, her hair covered the other side of her face.
3-14. This image was created with only the main light on.
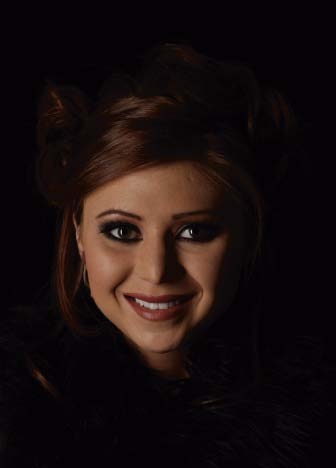
The final headshot (3-15) was shot with the coat pulled down around her shoulders, because the model wanted to show her chest and shoulders a bit.
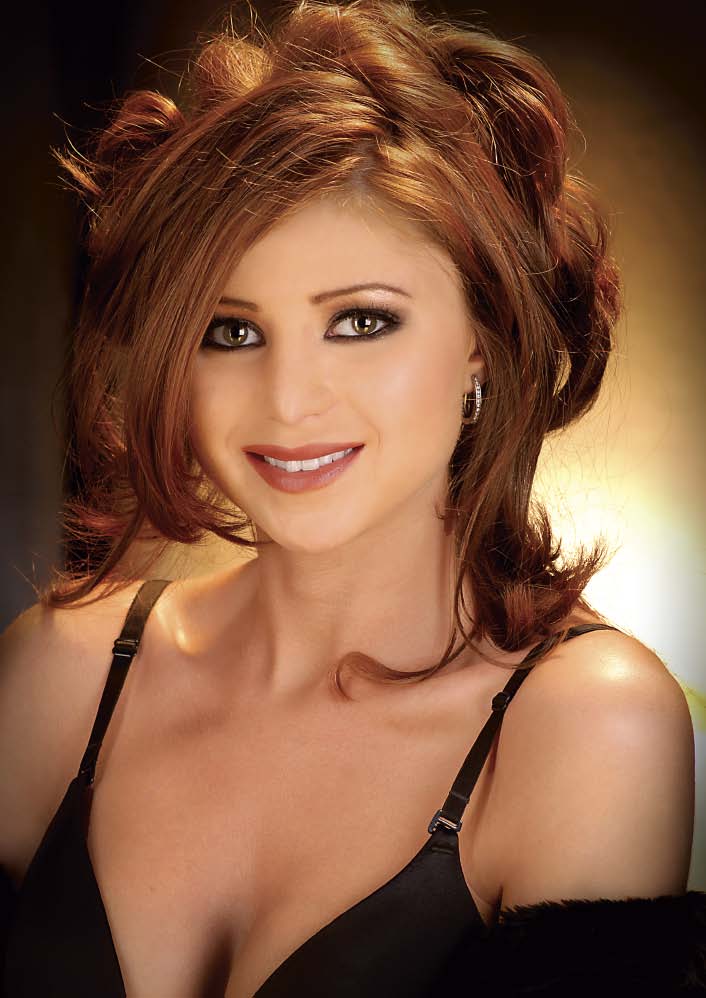
3-15. This image shows the combined effect of all the lights discussed in the previous images—plus the a gold reflector below the model’s chest for added fill and warmth.
As seen in the setup shot (3-16), a gold reflector was also placed just beneath her chest to add fill and an overall warming effect. (Note: If you are using variable-power light sources, you can quickly modify the effect from all the lights in a setup like this. Experiment with different ways of lighting so that your results are predictable. This is how you begin to create your own style.)
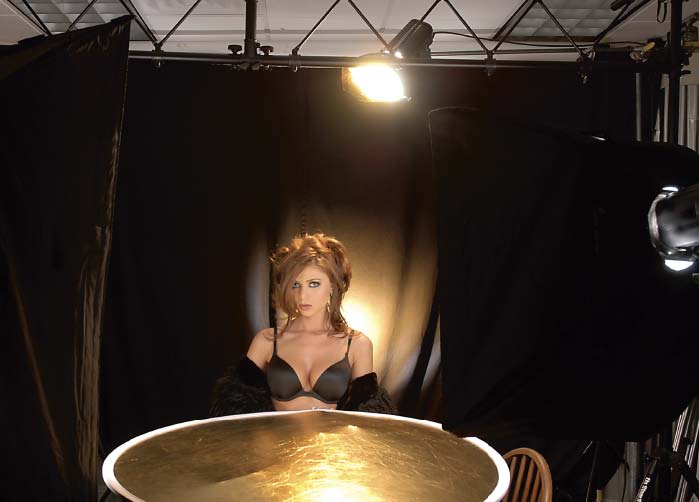
3-16. Here, you see an overview of the final setup.